
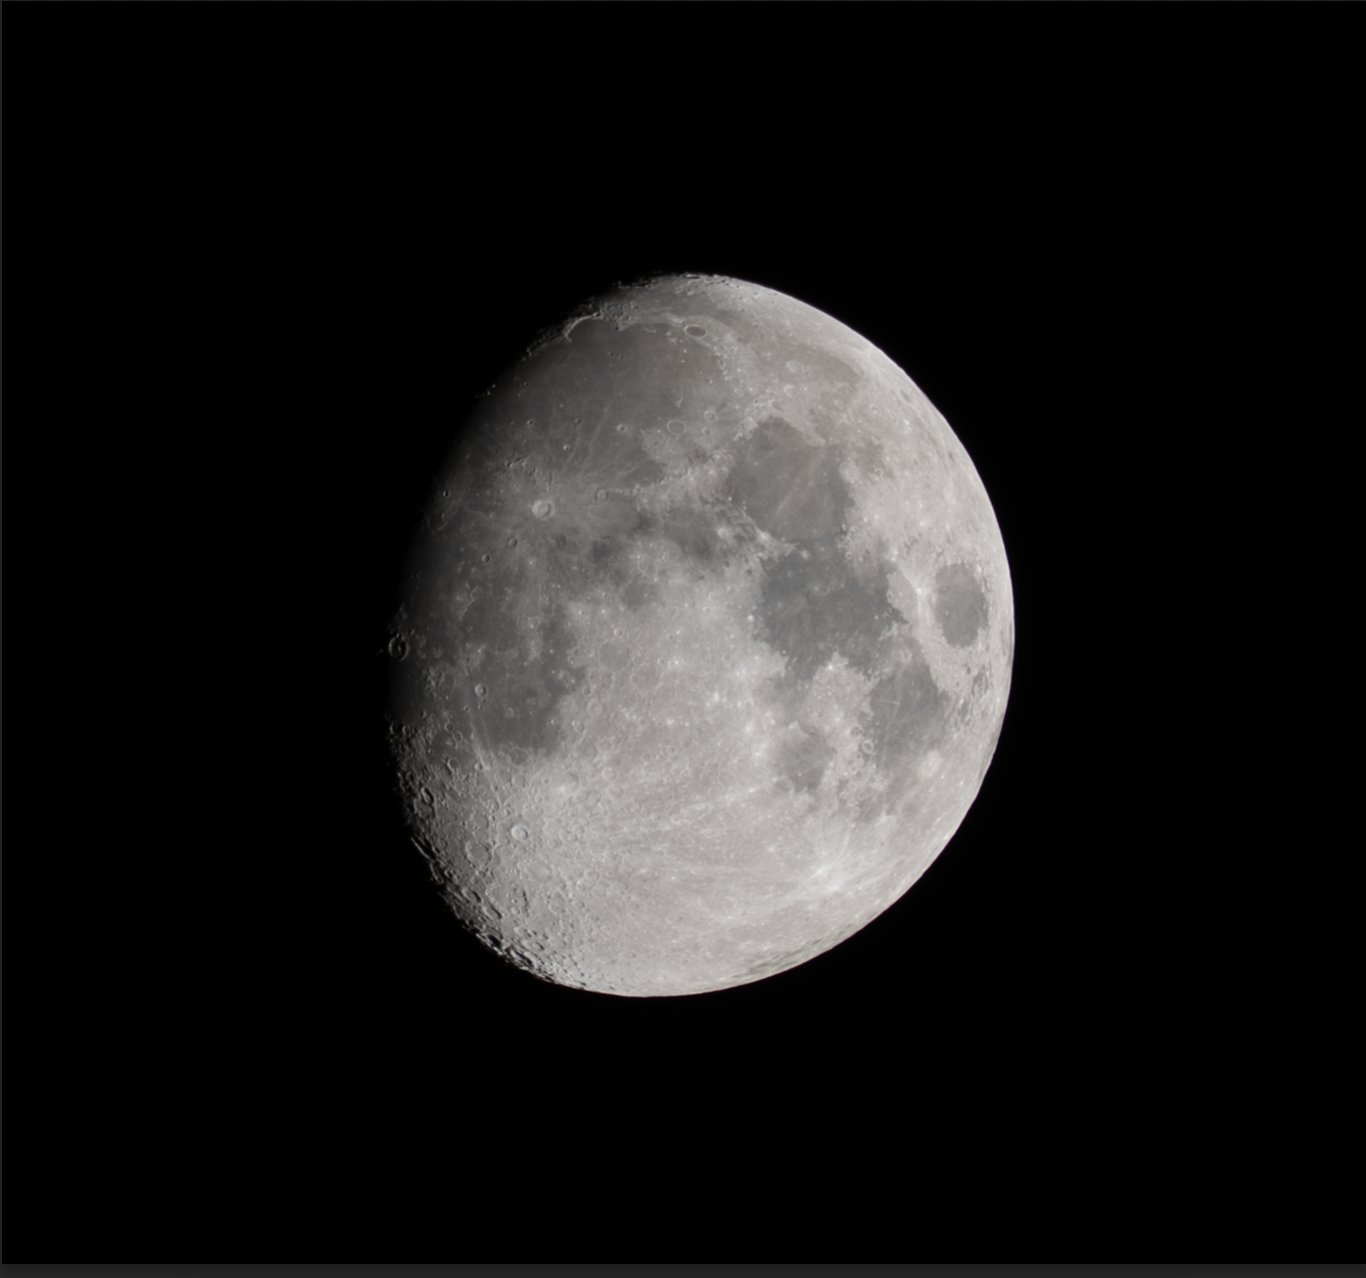
Practical basics of moon astrophotography and image stacking start with a simple goal: shoot a short burst of frames, stack them in Photoshop, and get a cleaner photo with more visible lunar detail.
I photographed the Moon with a full-frame camera (33 MP) and a 400 mm lens. This is not telescope-level magnification, but 400 mm on full frame already gives enough detail to work with and crop.
Why is stacking needed in this type of photography? At 300-400 mm we often crop heavily, and a single frame is limited by atmospheric turbulence, micro vibration, and random sensor noise. Stacking keeps repeatable lunar detail and suppresses random defects, so the final result is cleaner and more natural.
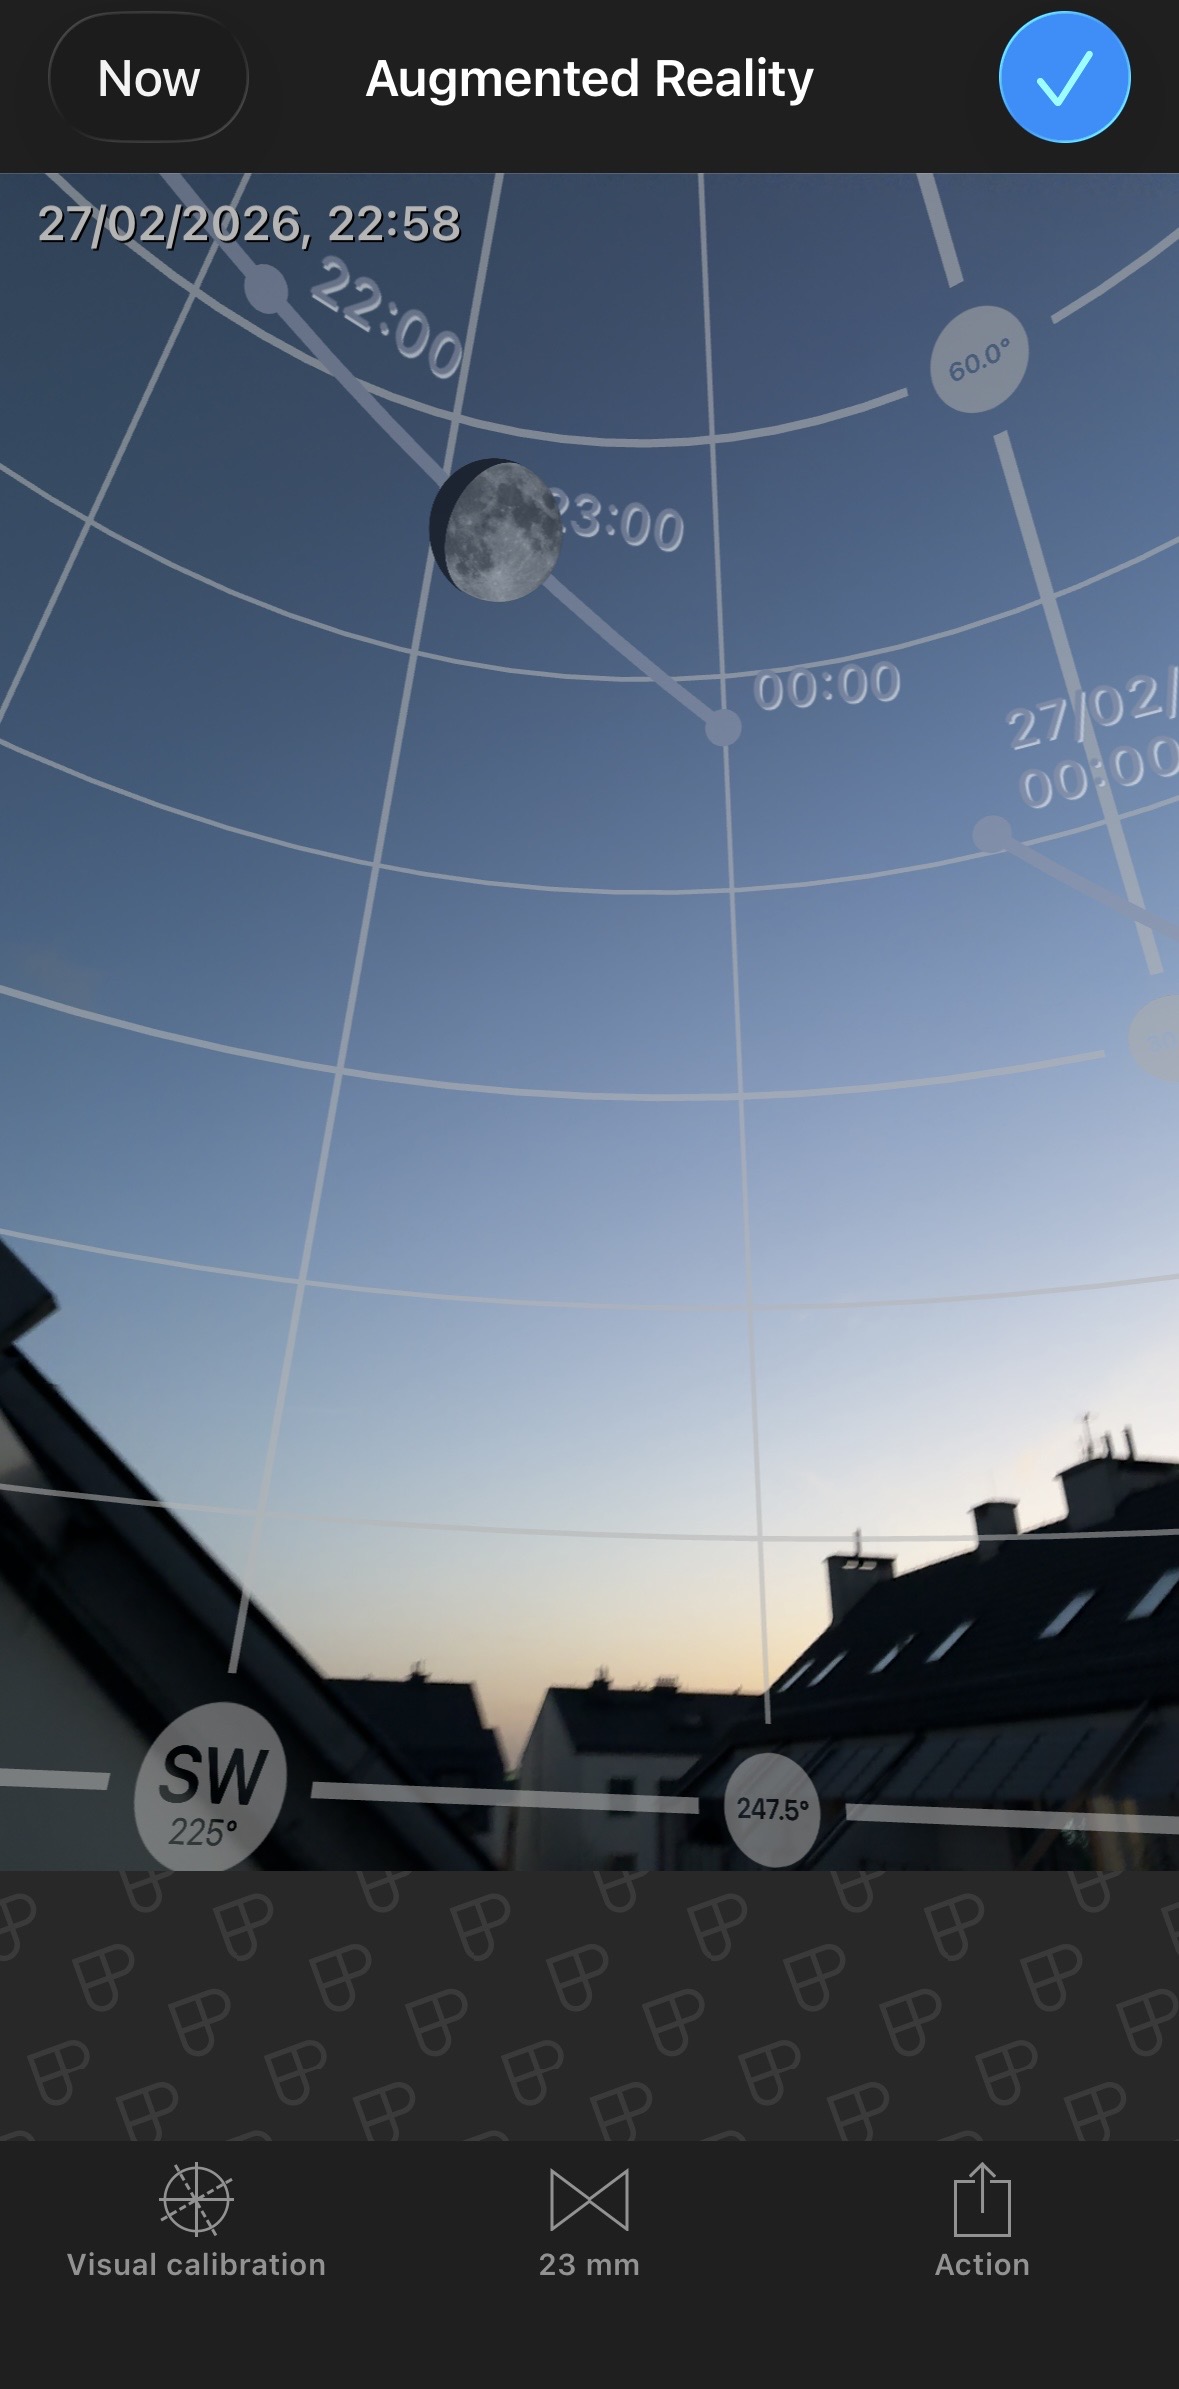
The first step is planning. I use PhotoPills to check what time the Moon will be in a comfortable position for shooting from my balcony, and on which side of the sky light pollution is lower.
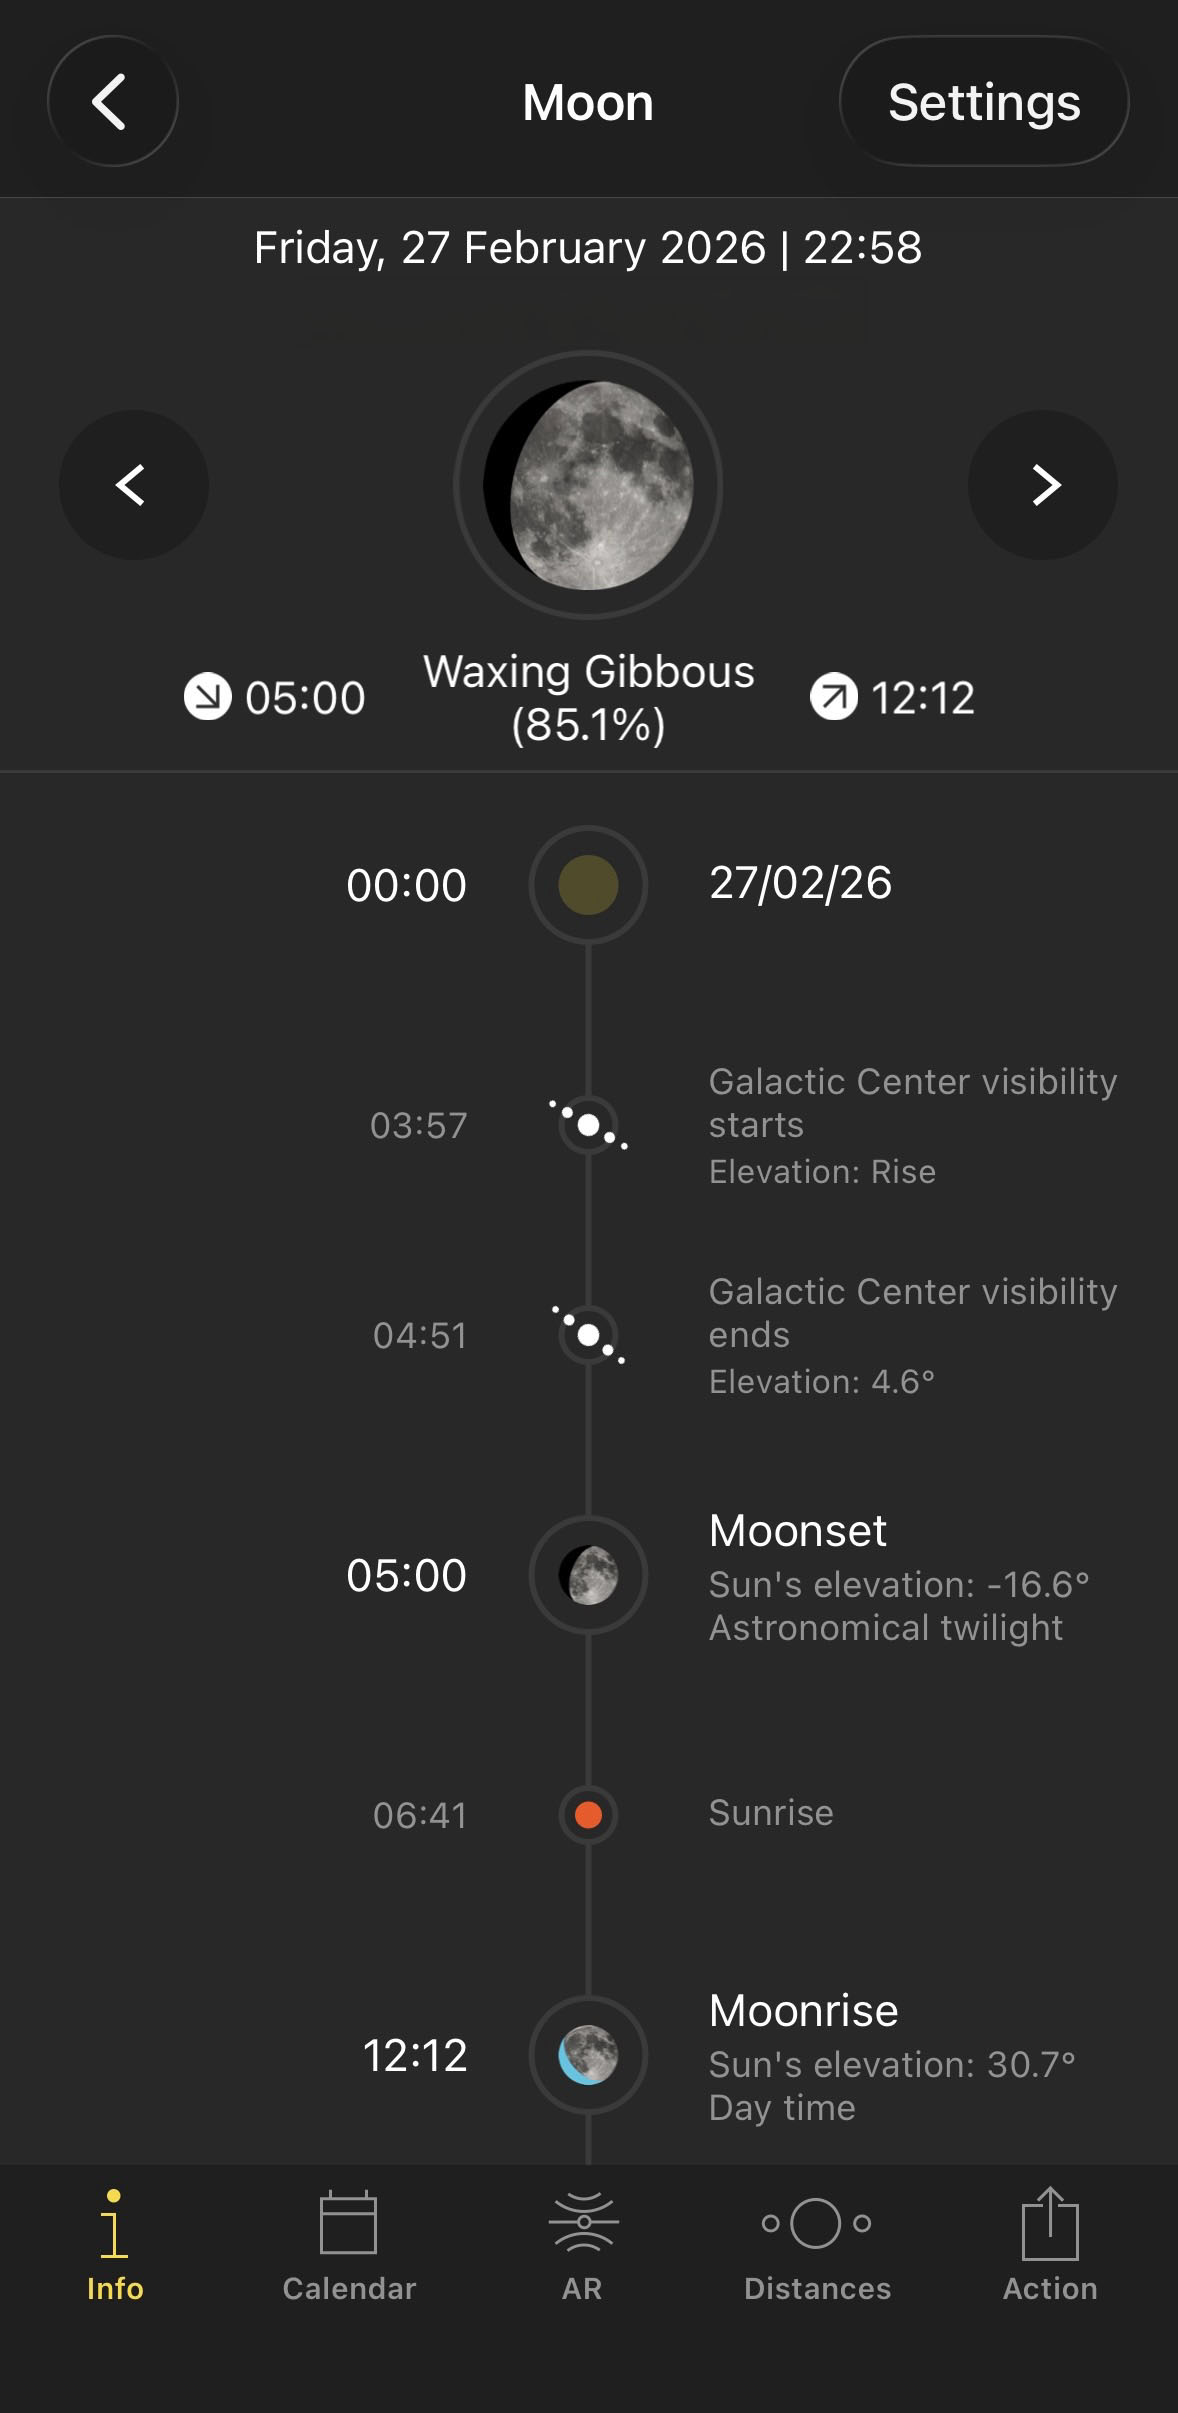
Weather is still the deciding factor. You can have perfect gear and perfect software, but if clouds roll in, the session is over.
Moon photography is a very friendly entry point to astrophotography. Typical shutter speeds are short, around 1/100 s, so a burst of 100 frames takes under 2 minutes. Compared to deep-sky or star photography, this is faster, simpler, and much less dependent on specialized tracking gear.
For this session I used an intervalometer and shot 100 frames at about 1/100 s, f/8, ISO 100. ISO can stay very low because the Moon is basically a huge rock lit by full sunlight.
A practical detail: set a short start delay in the intervalometer, so the sequence begins after vibrations from touching the camera are gone. At 400 mm, even tiny shake can reduce sharpness or shift the Moon awkwardly in the frame.
Even in a short burst of around 1 minute 30 seconds, you can see the Moon moving in the frame between the first and last shot. Leave some framing buffer and do not crop too tight in-camera.
This is exactly why a short sequence plus stacking is better than relying on one frame. Even if individual shots are not perfect, stacking statistically reinforces stable detail and reduces random softness.
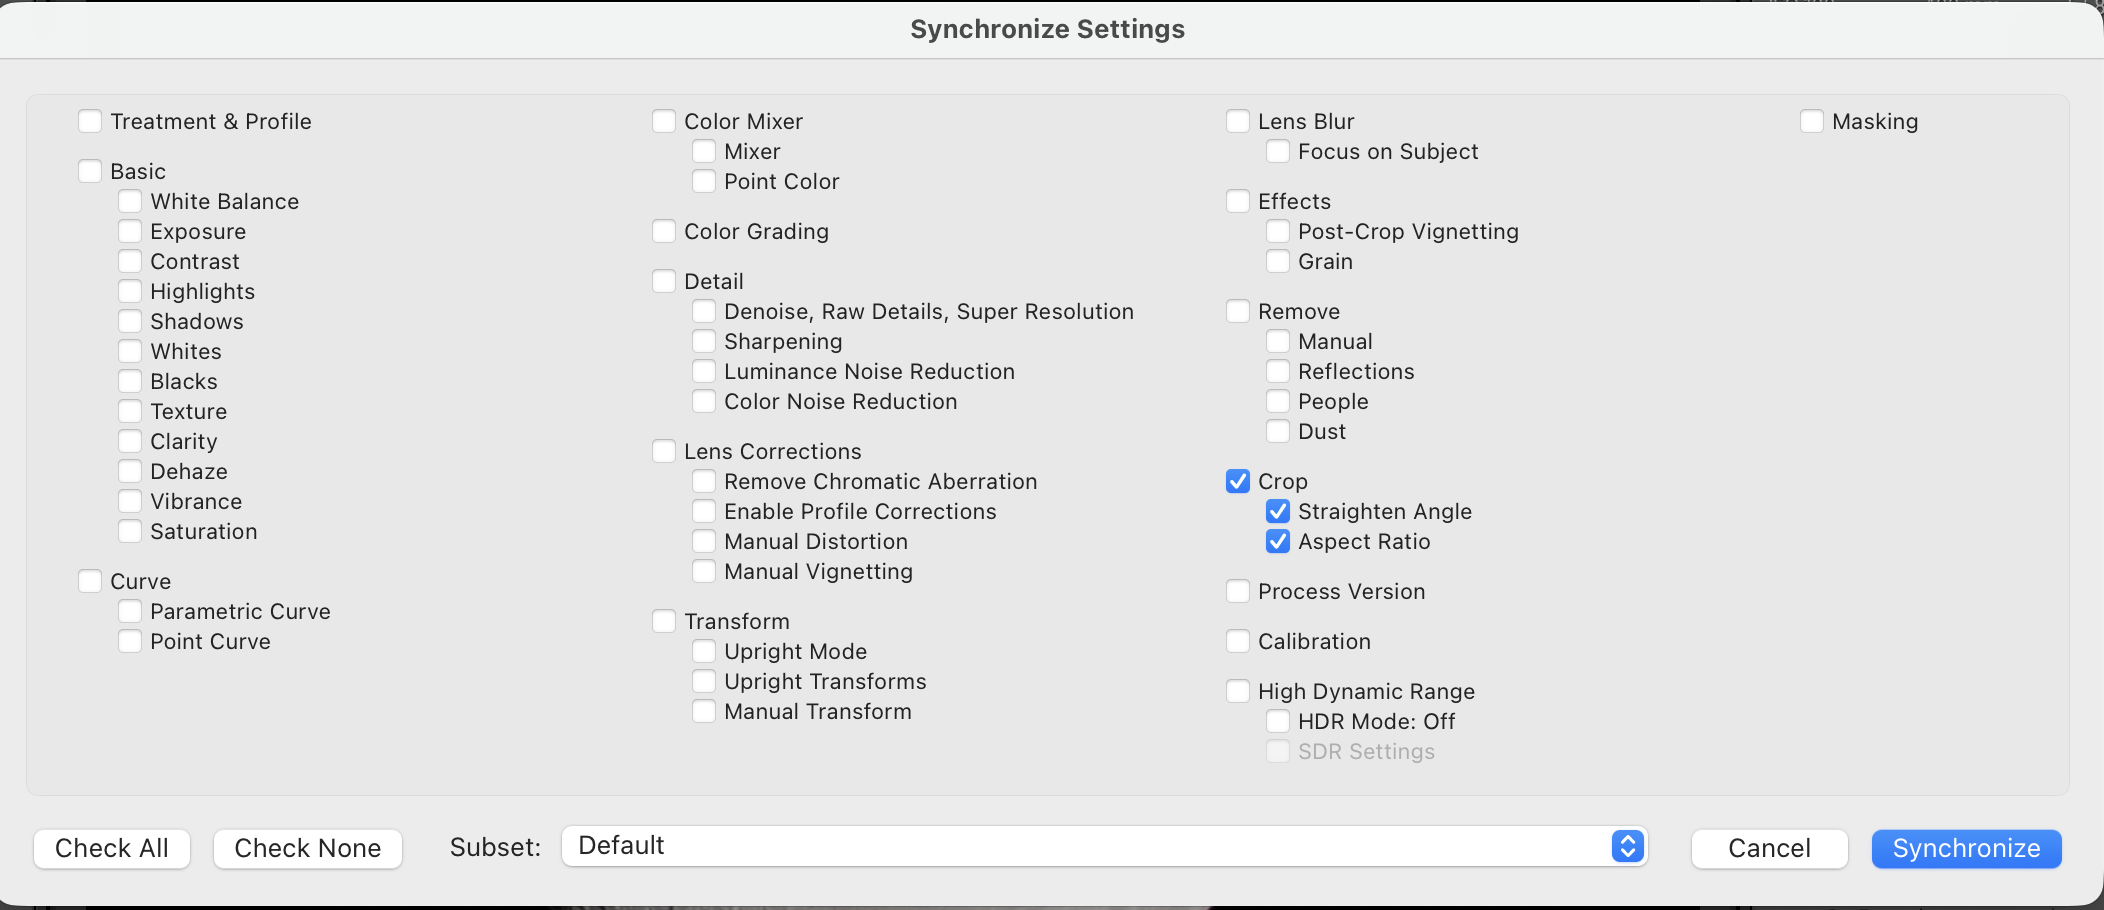
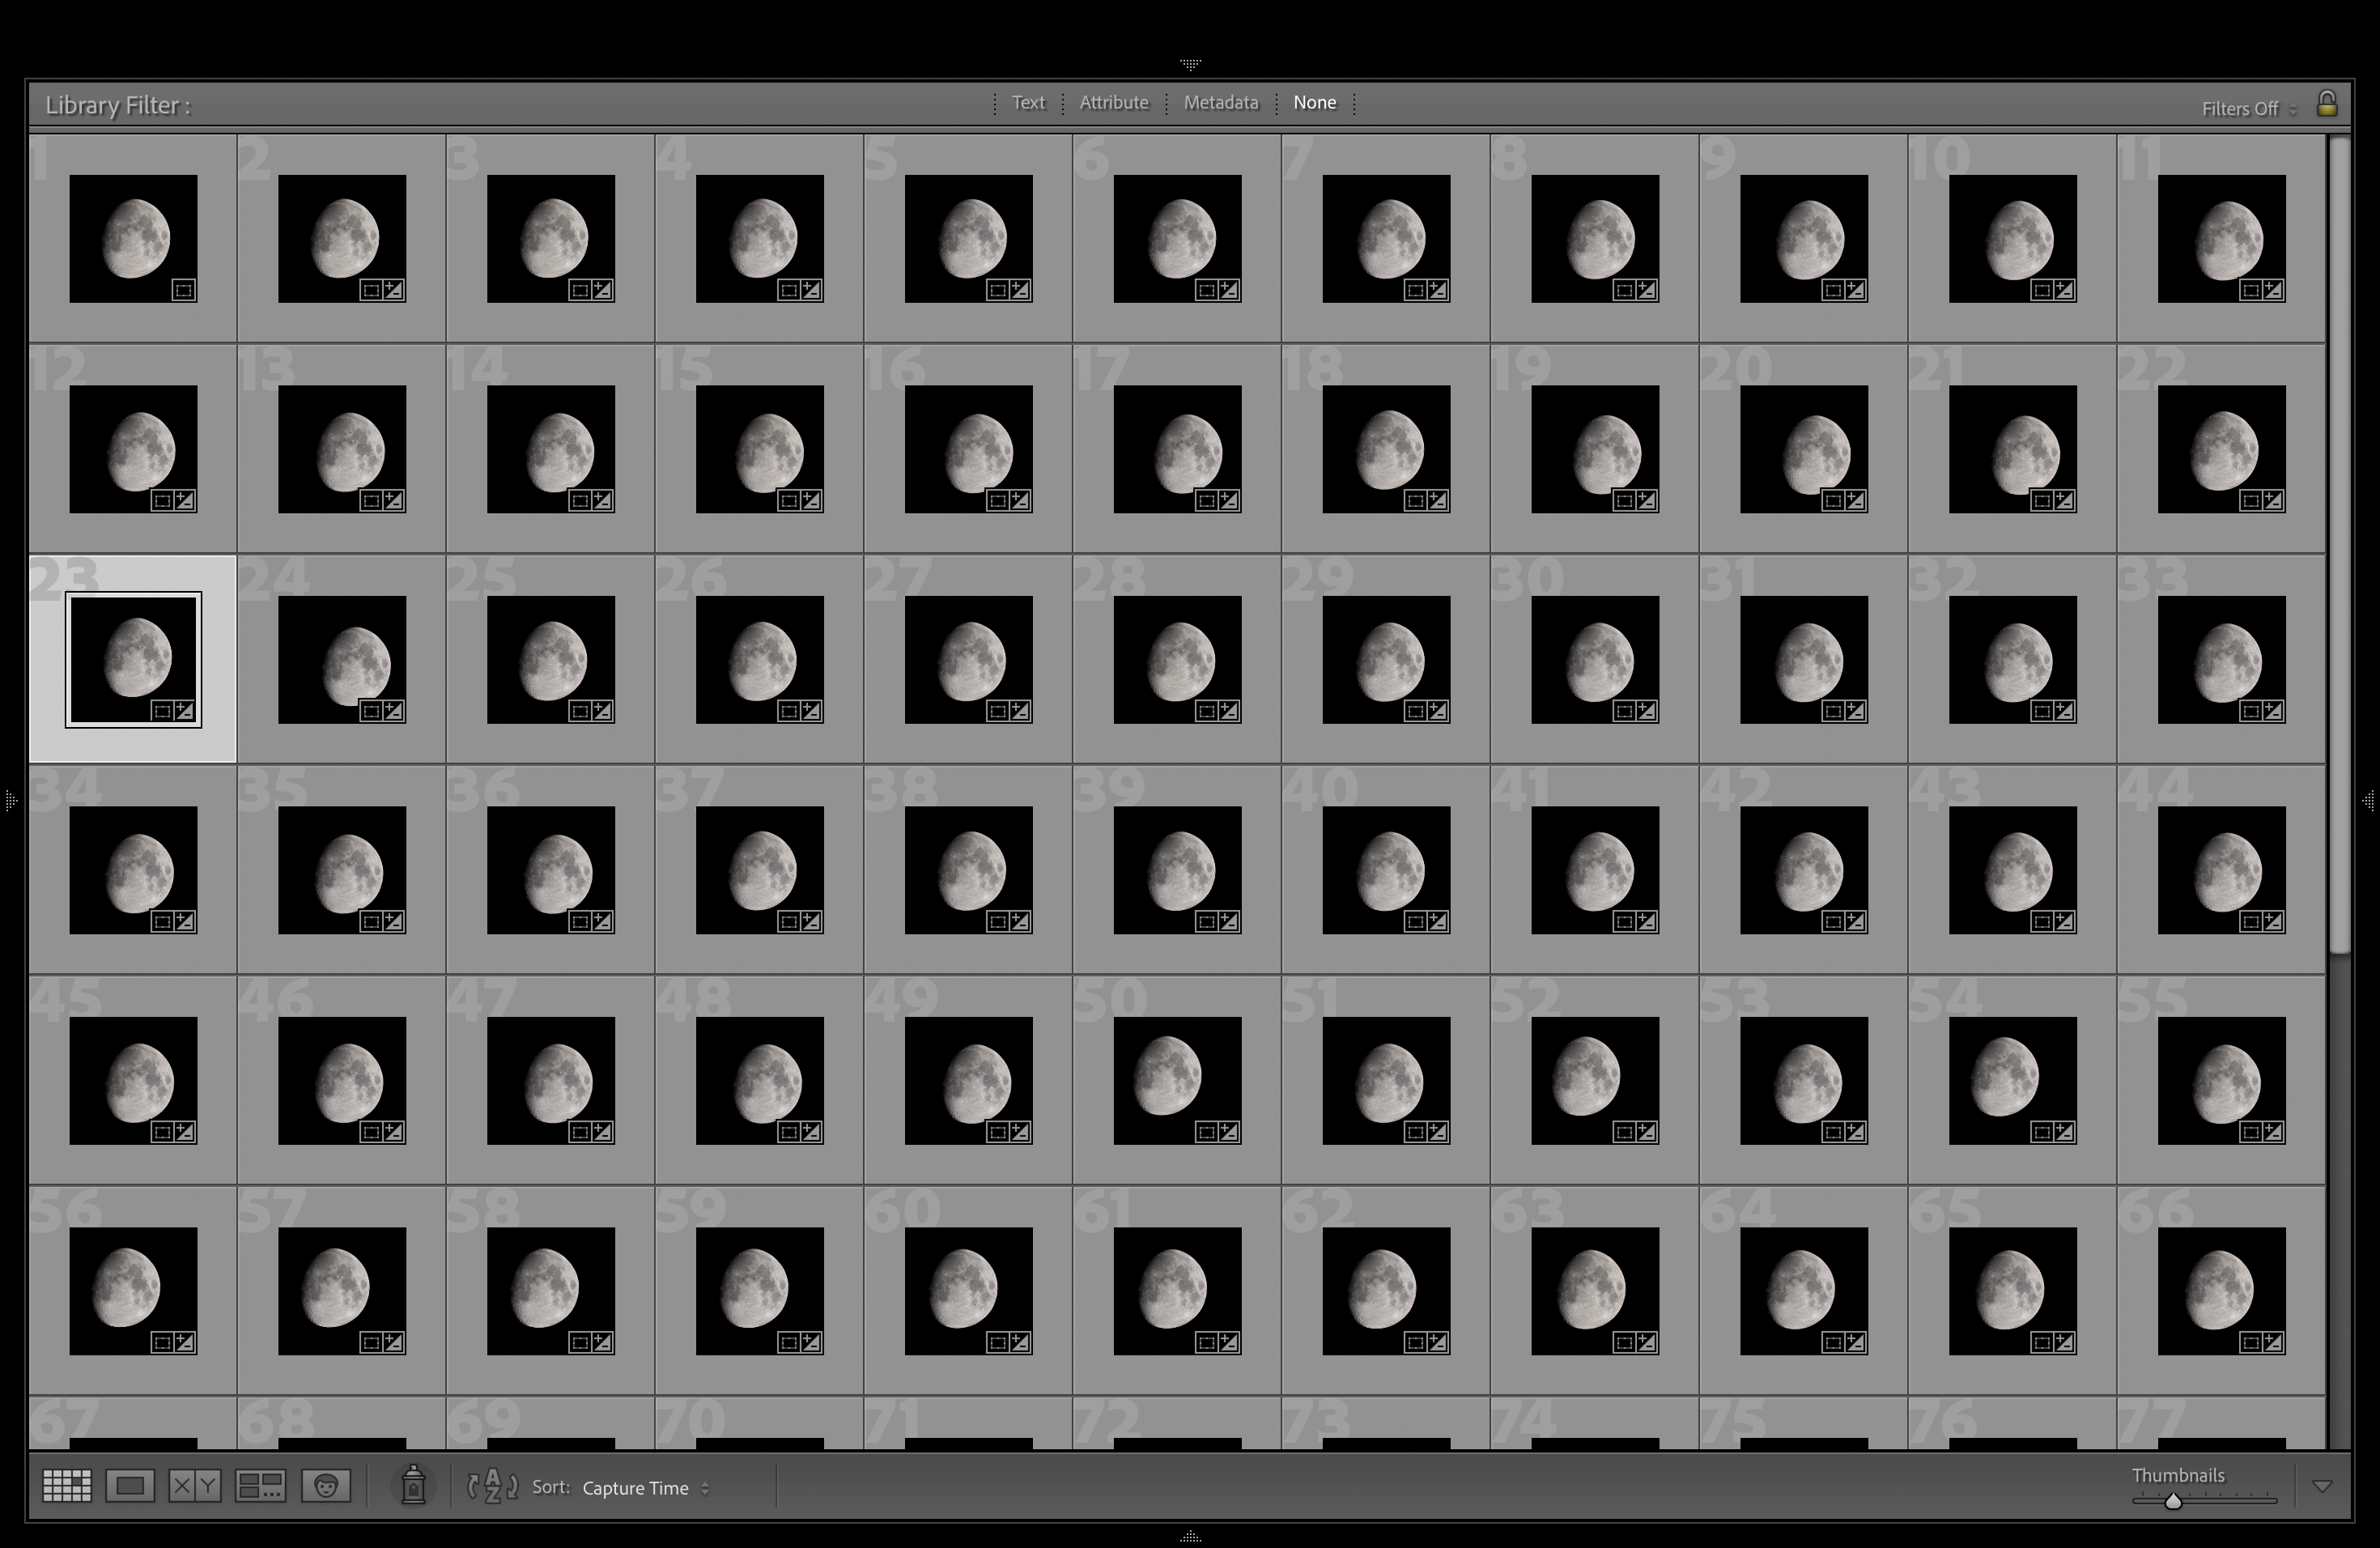
After importing files to the computer, I start in Lightroom. My final output was square, so I first cropped one frame and then synchronized crop settings to the whole group.
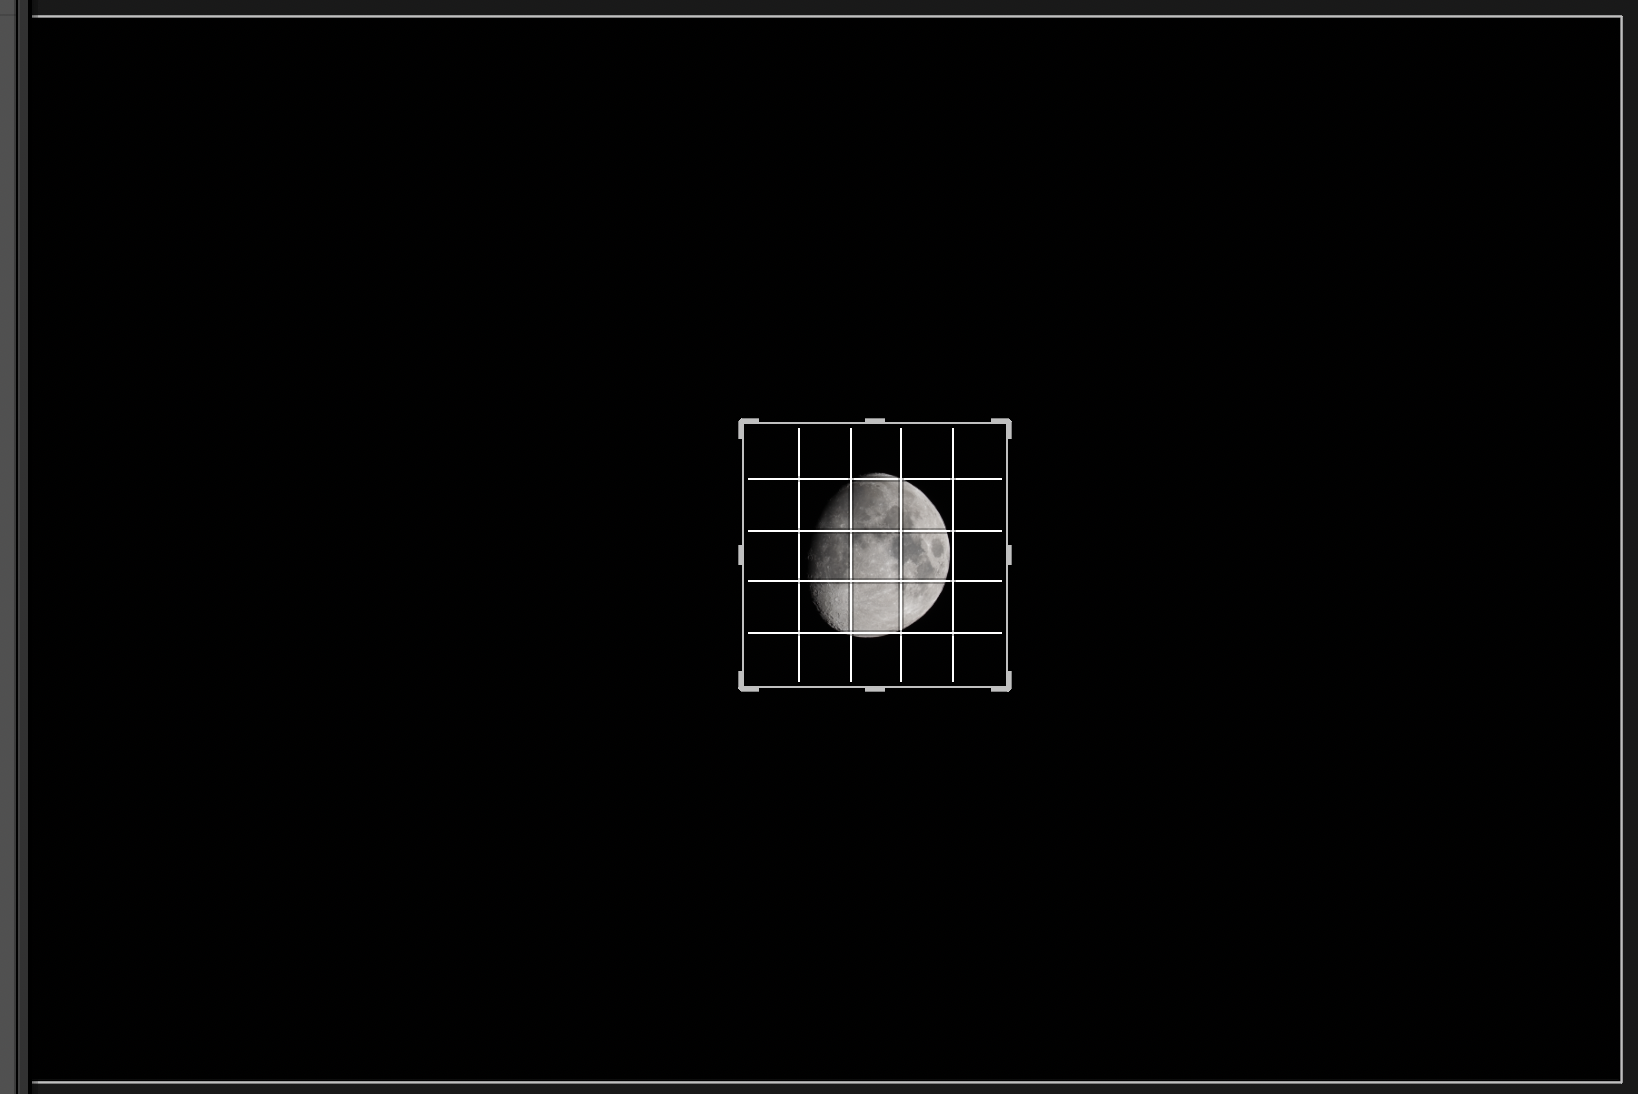
Because of that small drift, I found it easiest to work in smaller groups of 10-20 frames and keep the Moon centered in each batch.
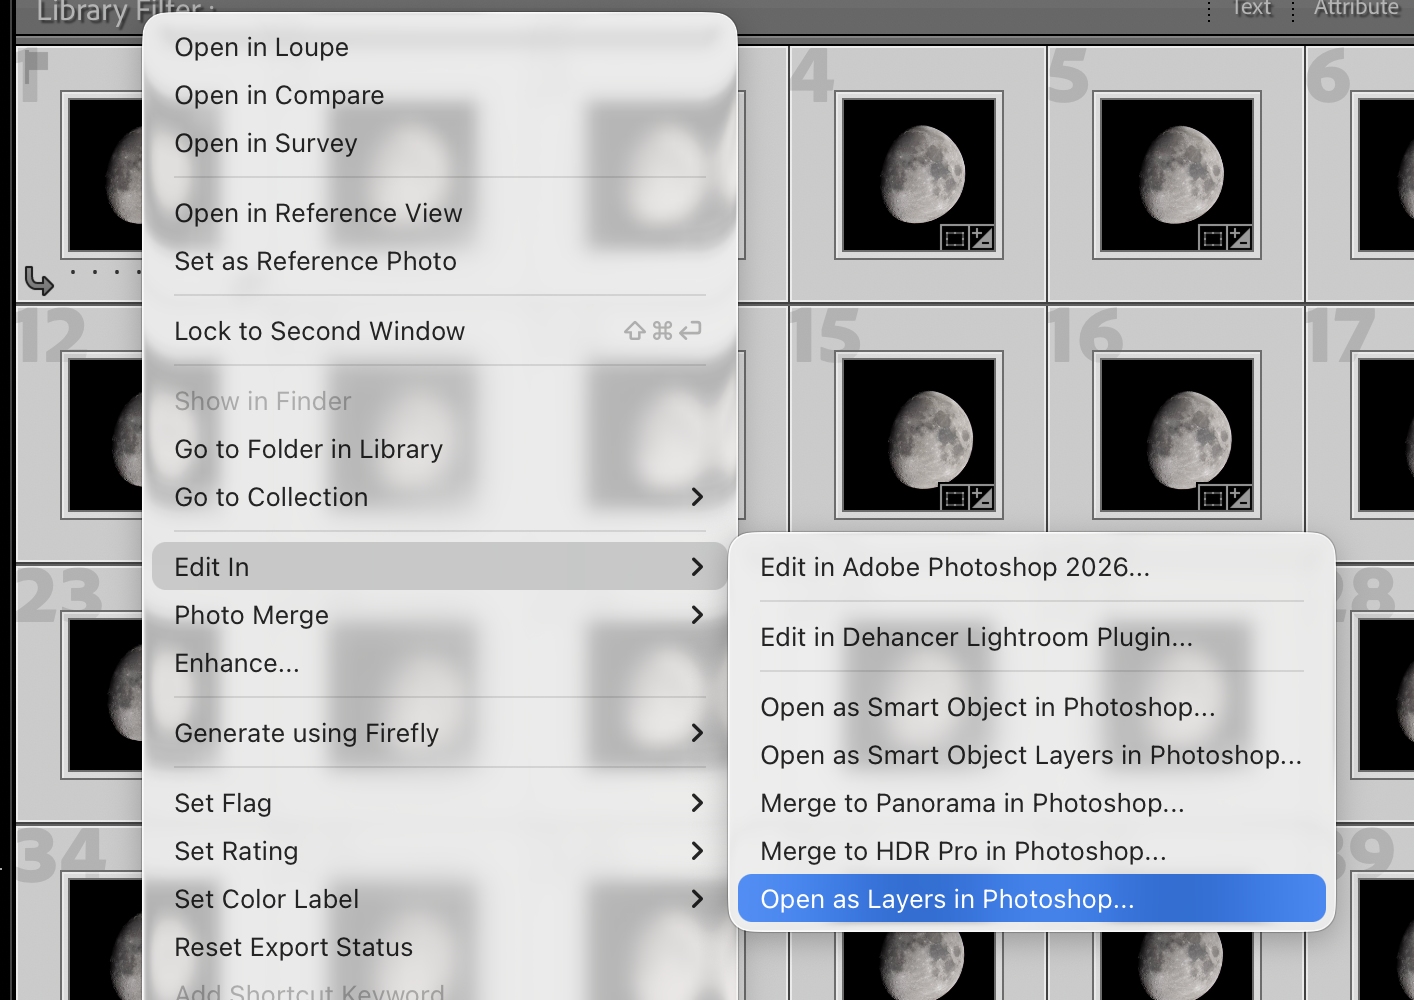
Then I select all frames from one batch and open them as layers in Photoshop.
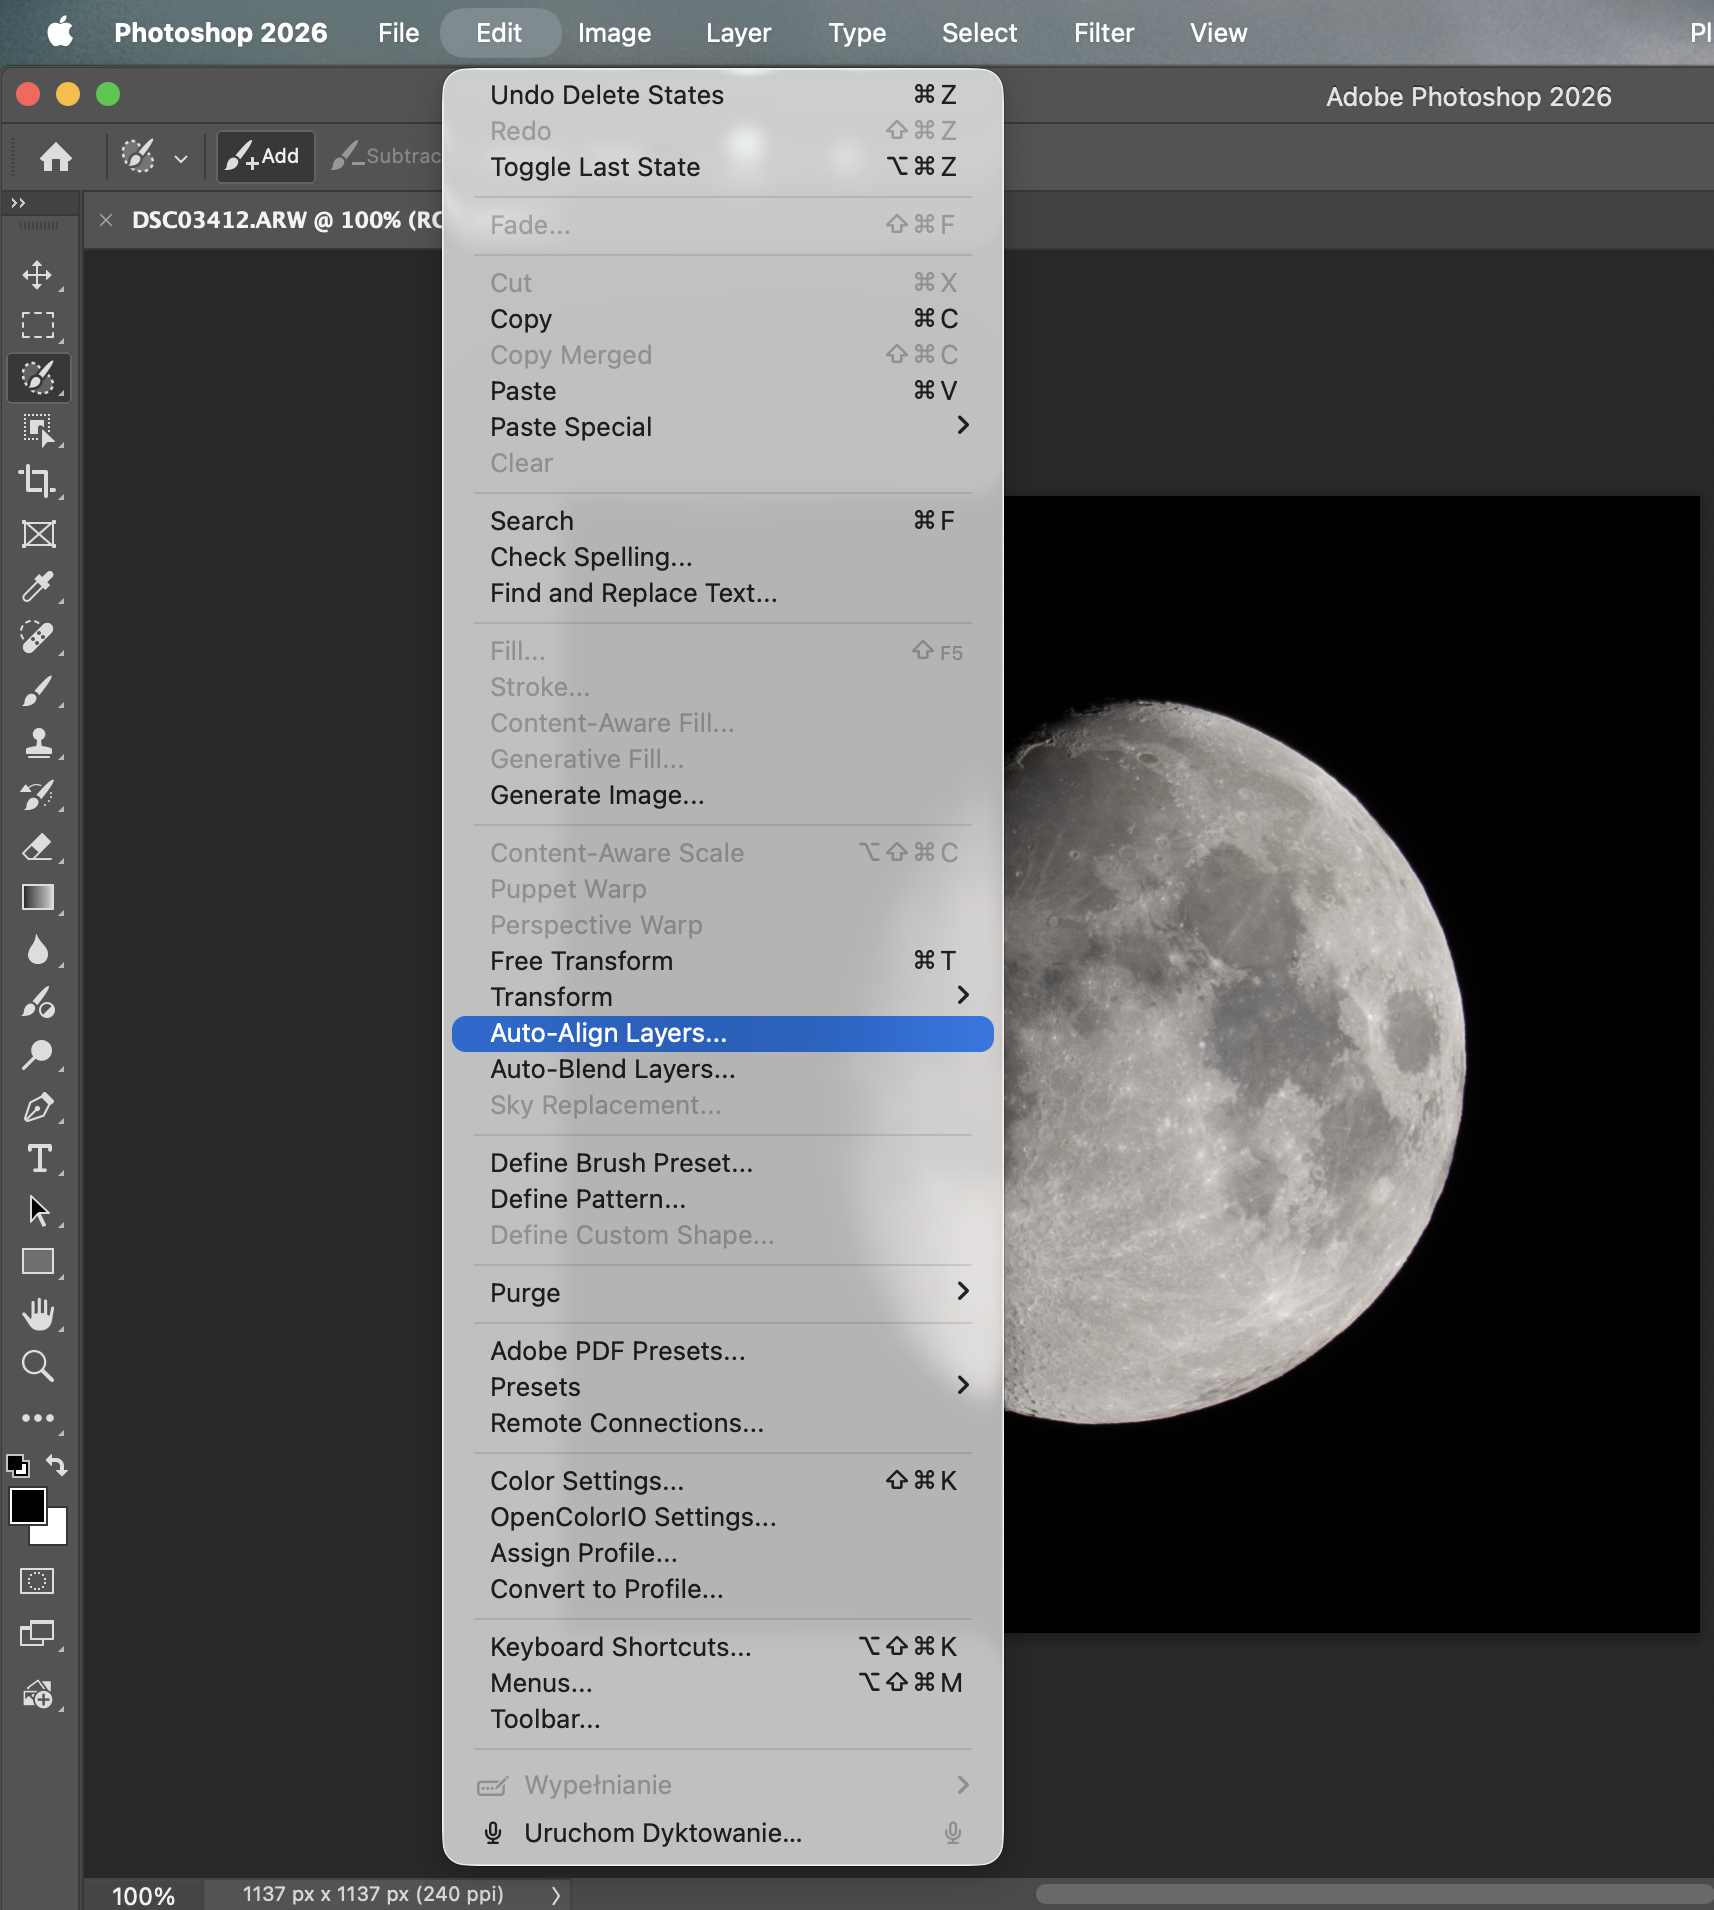
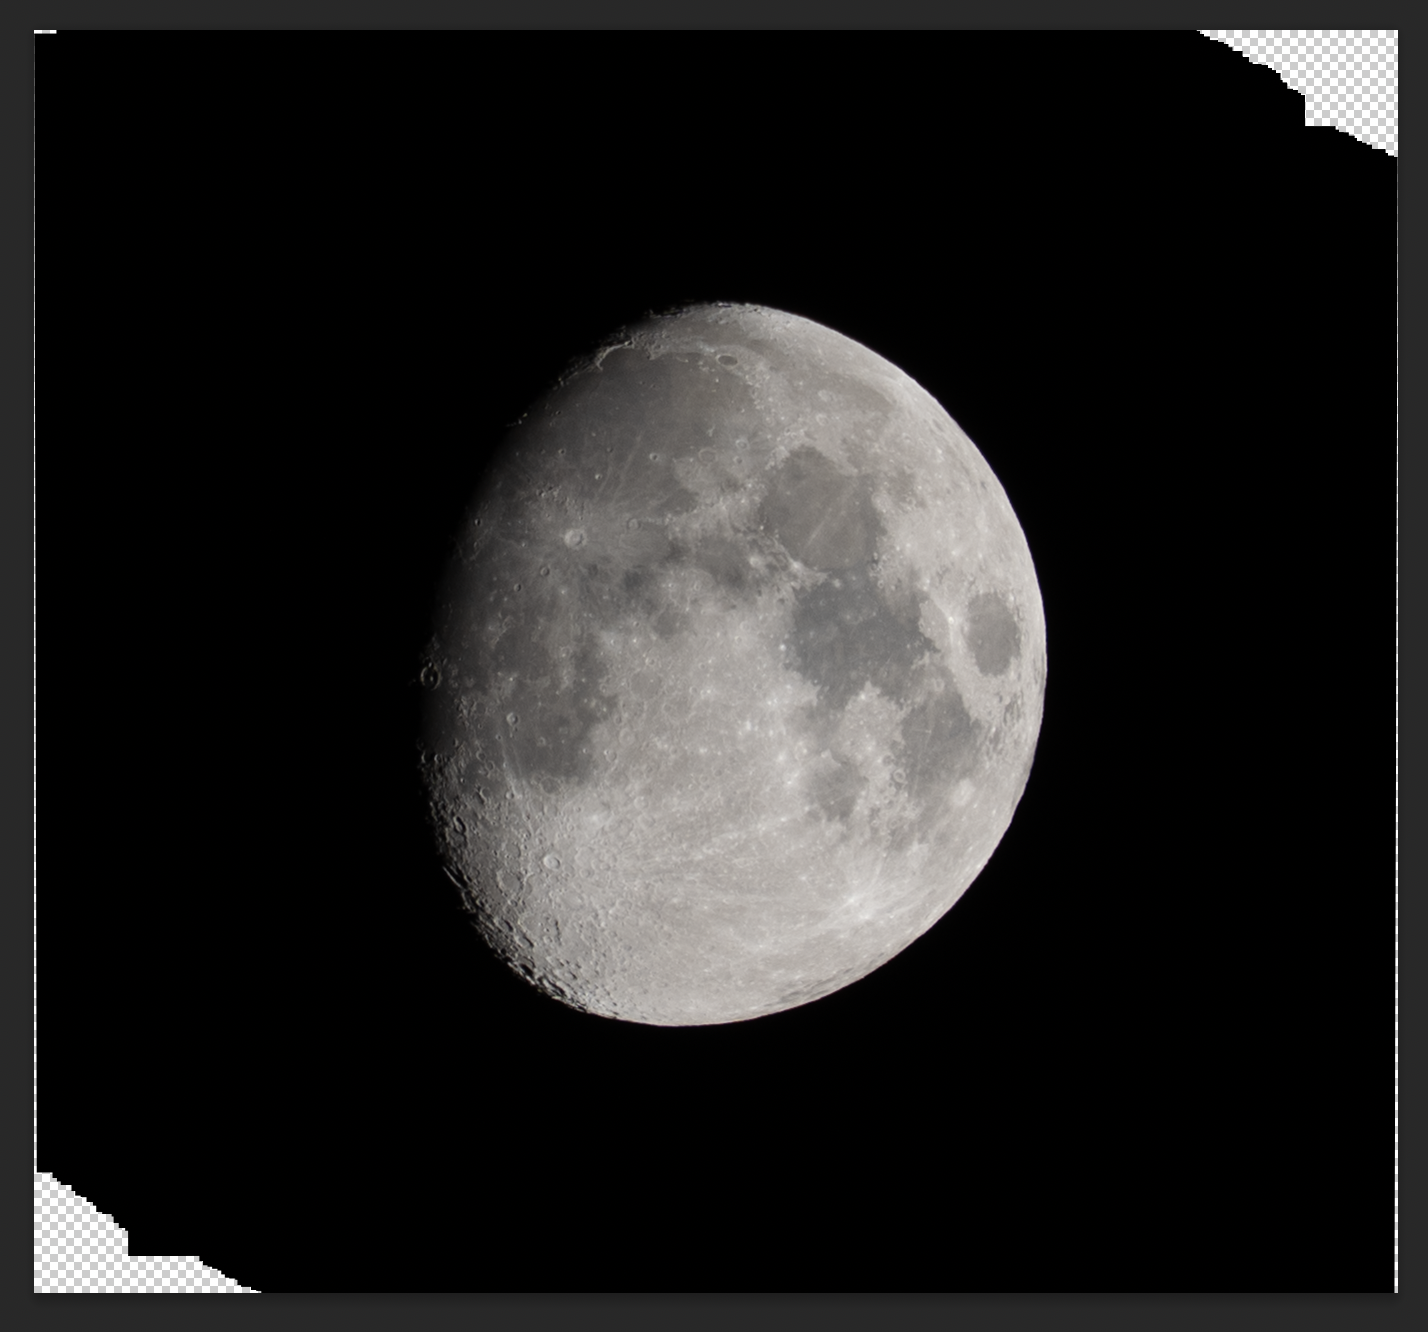
In Photoshop, first select all layers, then use Edit > Auto-Align Layers. This compensates for tiny shifts between frames and makes the stack ready for averaging.
Next, select all layers, right-click, and choose Convert to Smart Object.
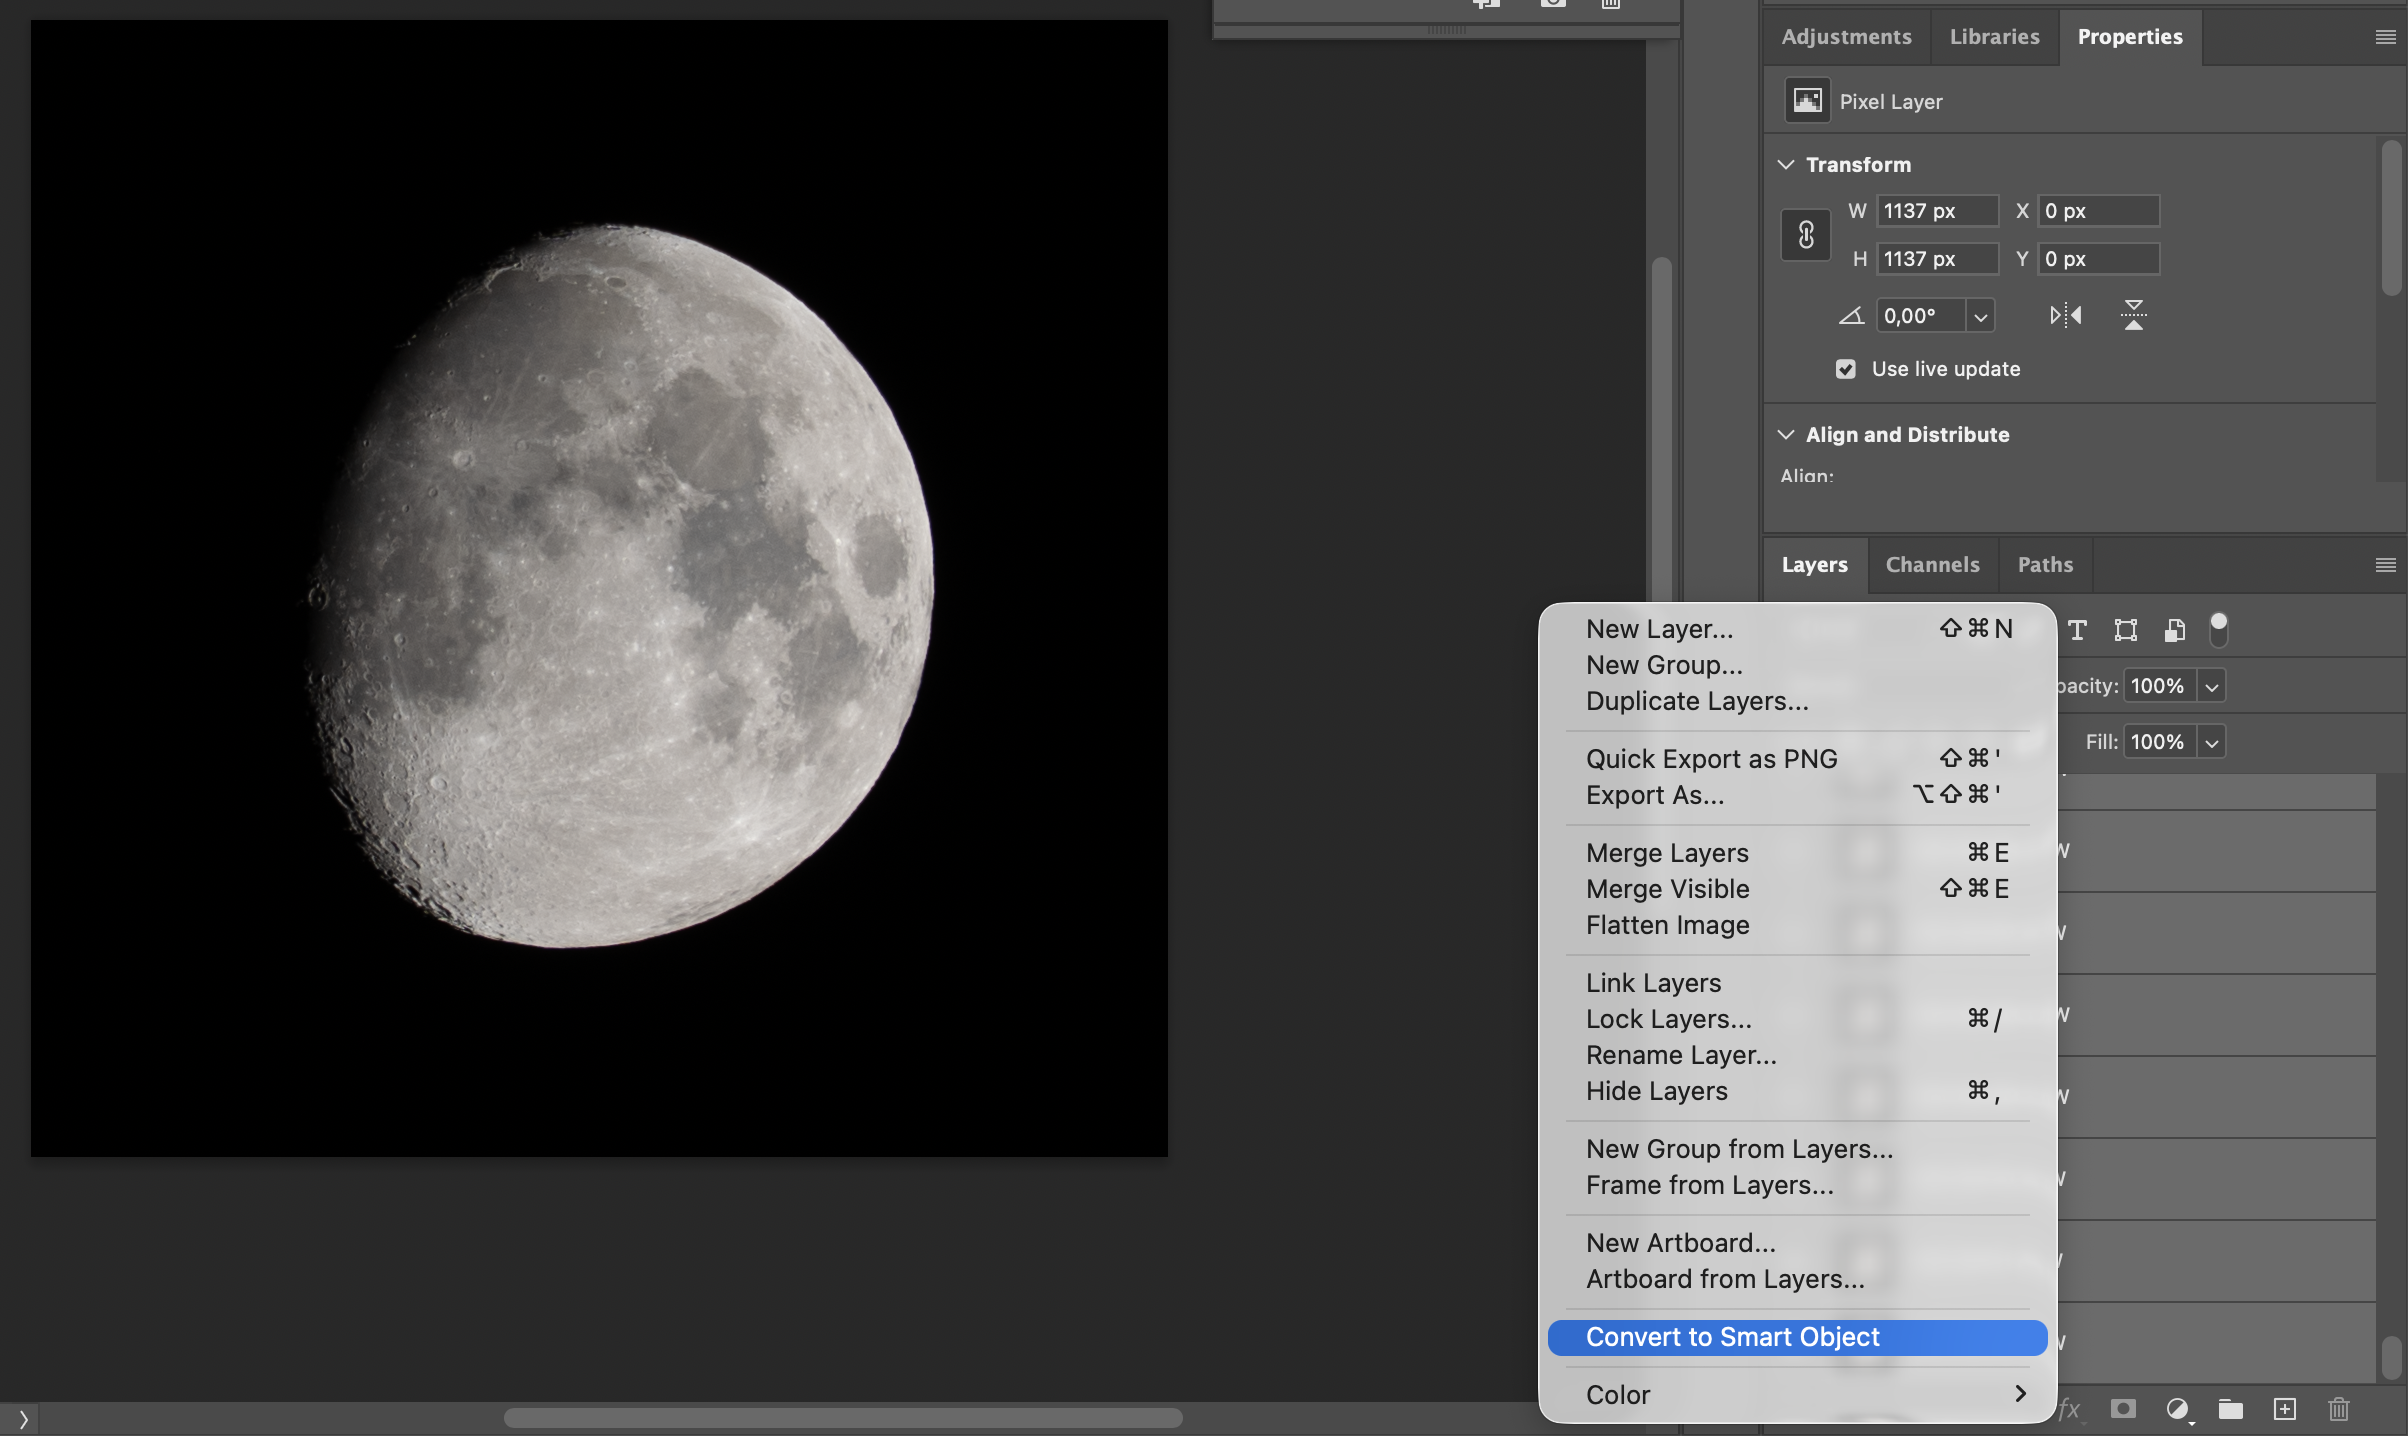
What is a Smart Object here? It is a non-destructive container that keeps all source layers inside one object. This allows Photoshop to run stack calculations across the whole set of frames.
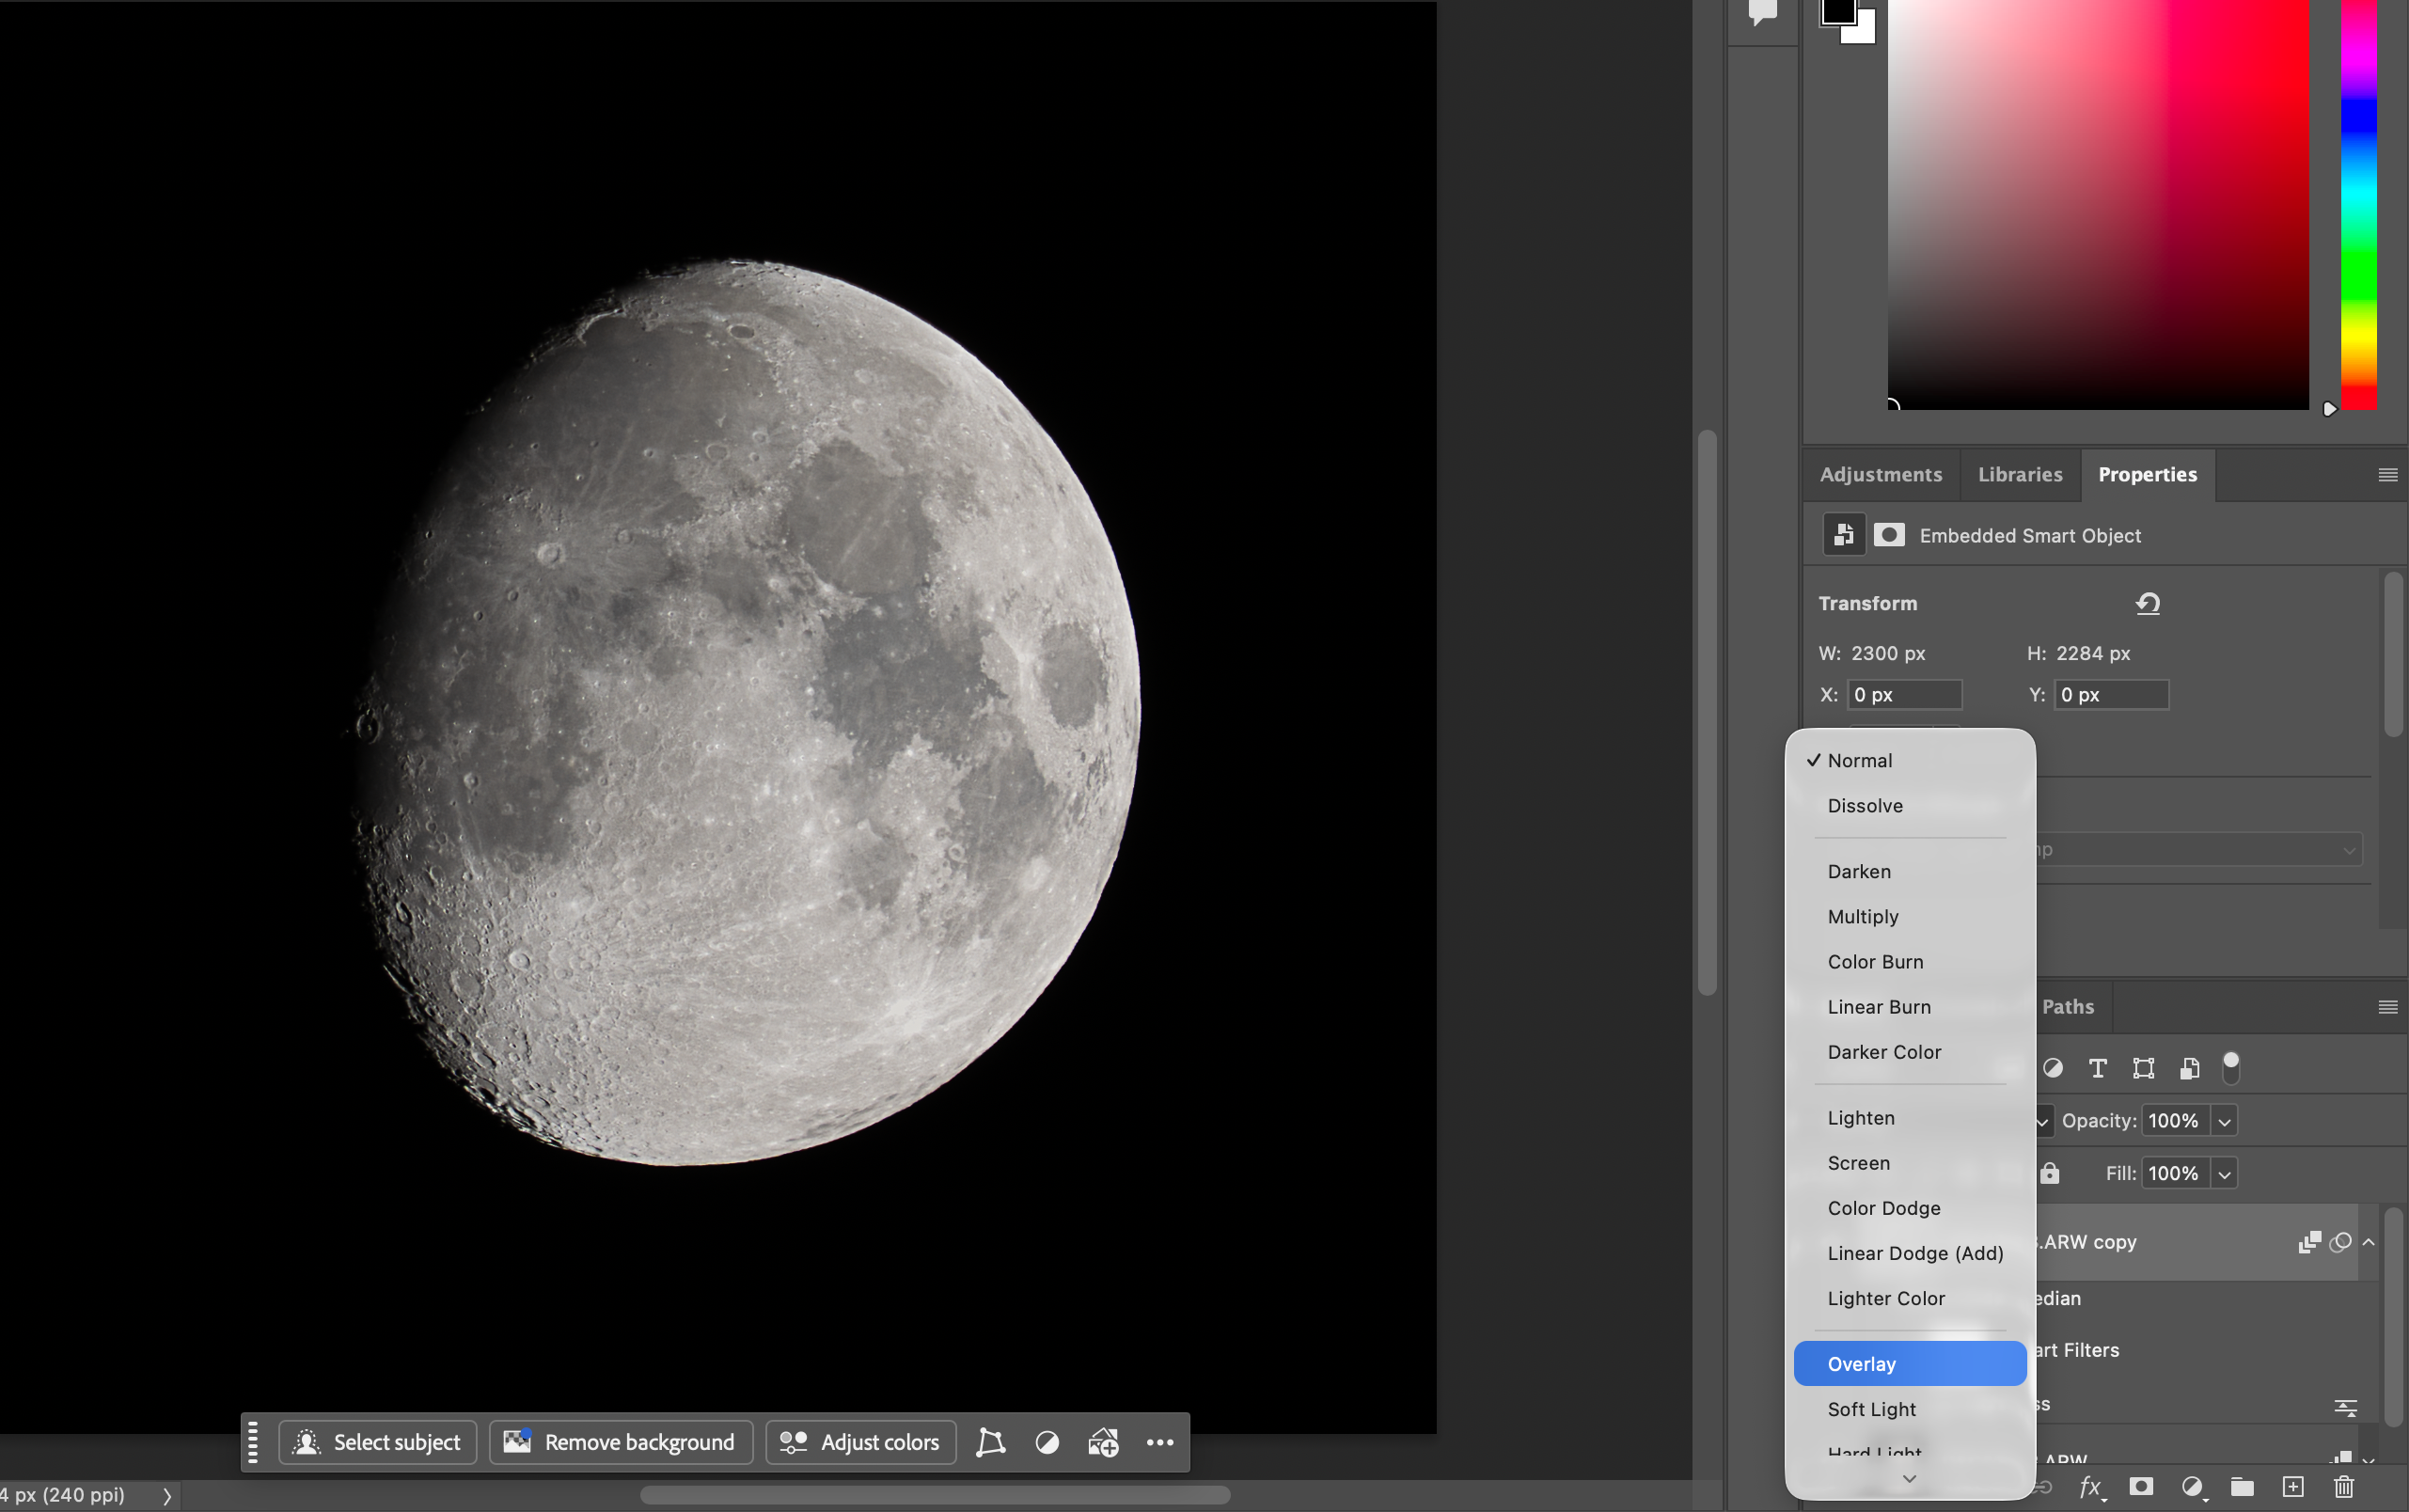
Now the most important part: Layer > Smart Objects > Stack Mode > Median.
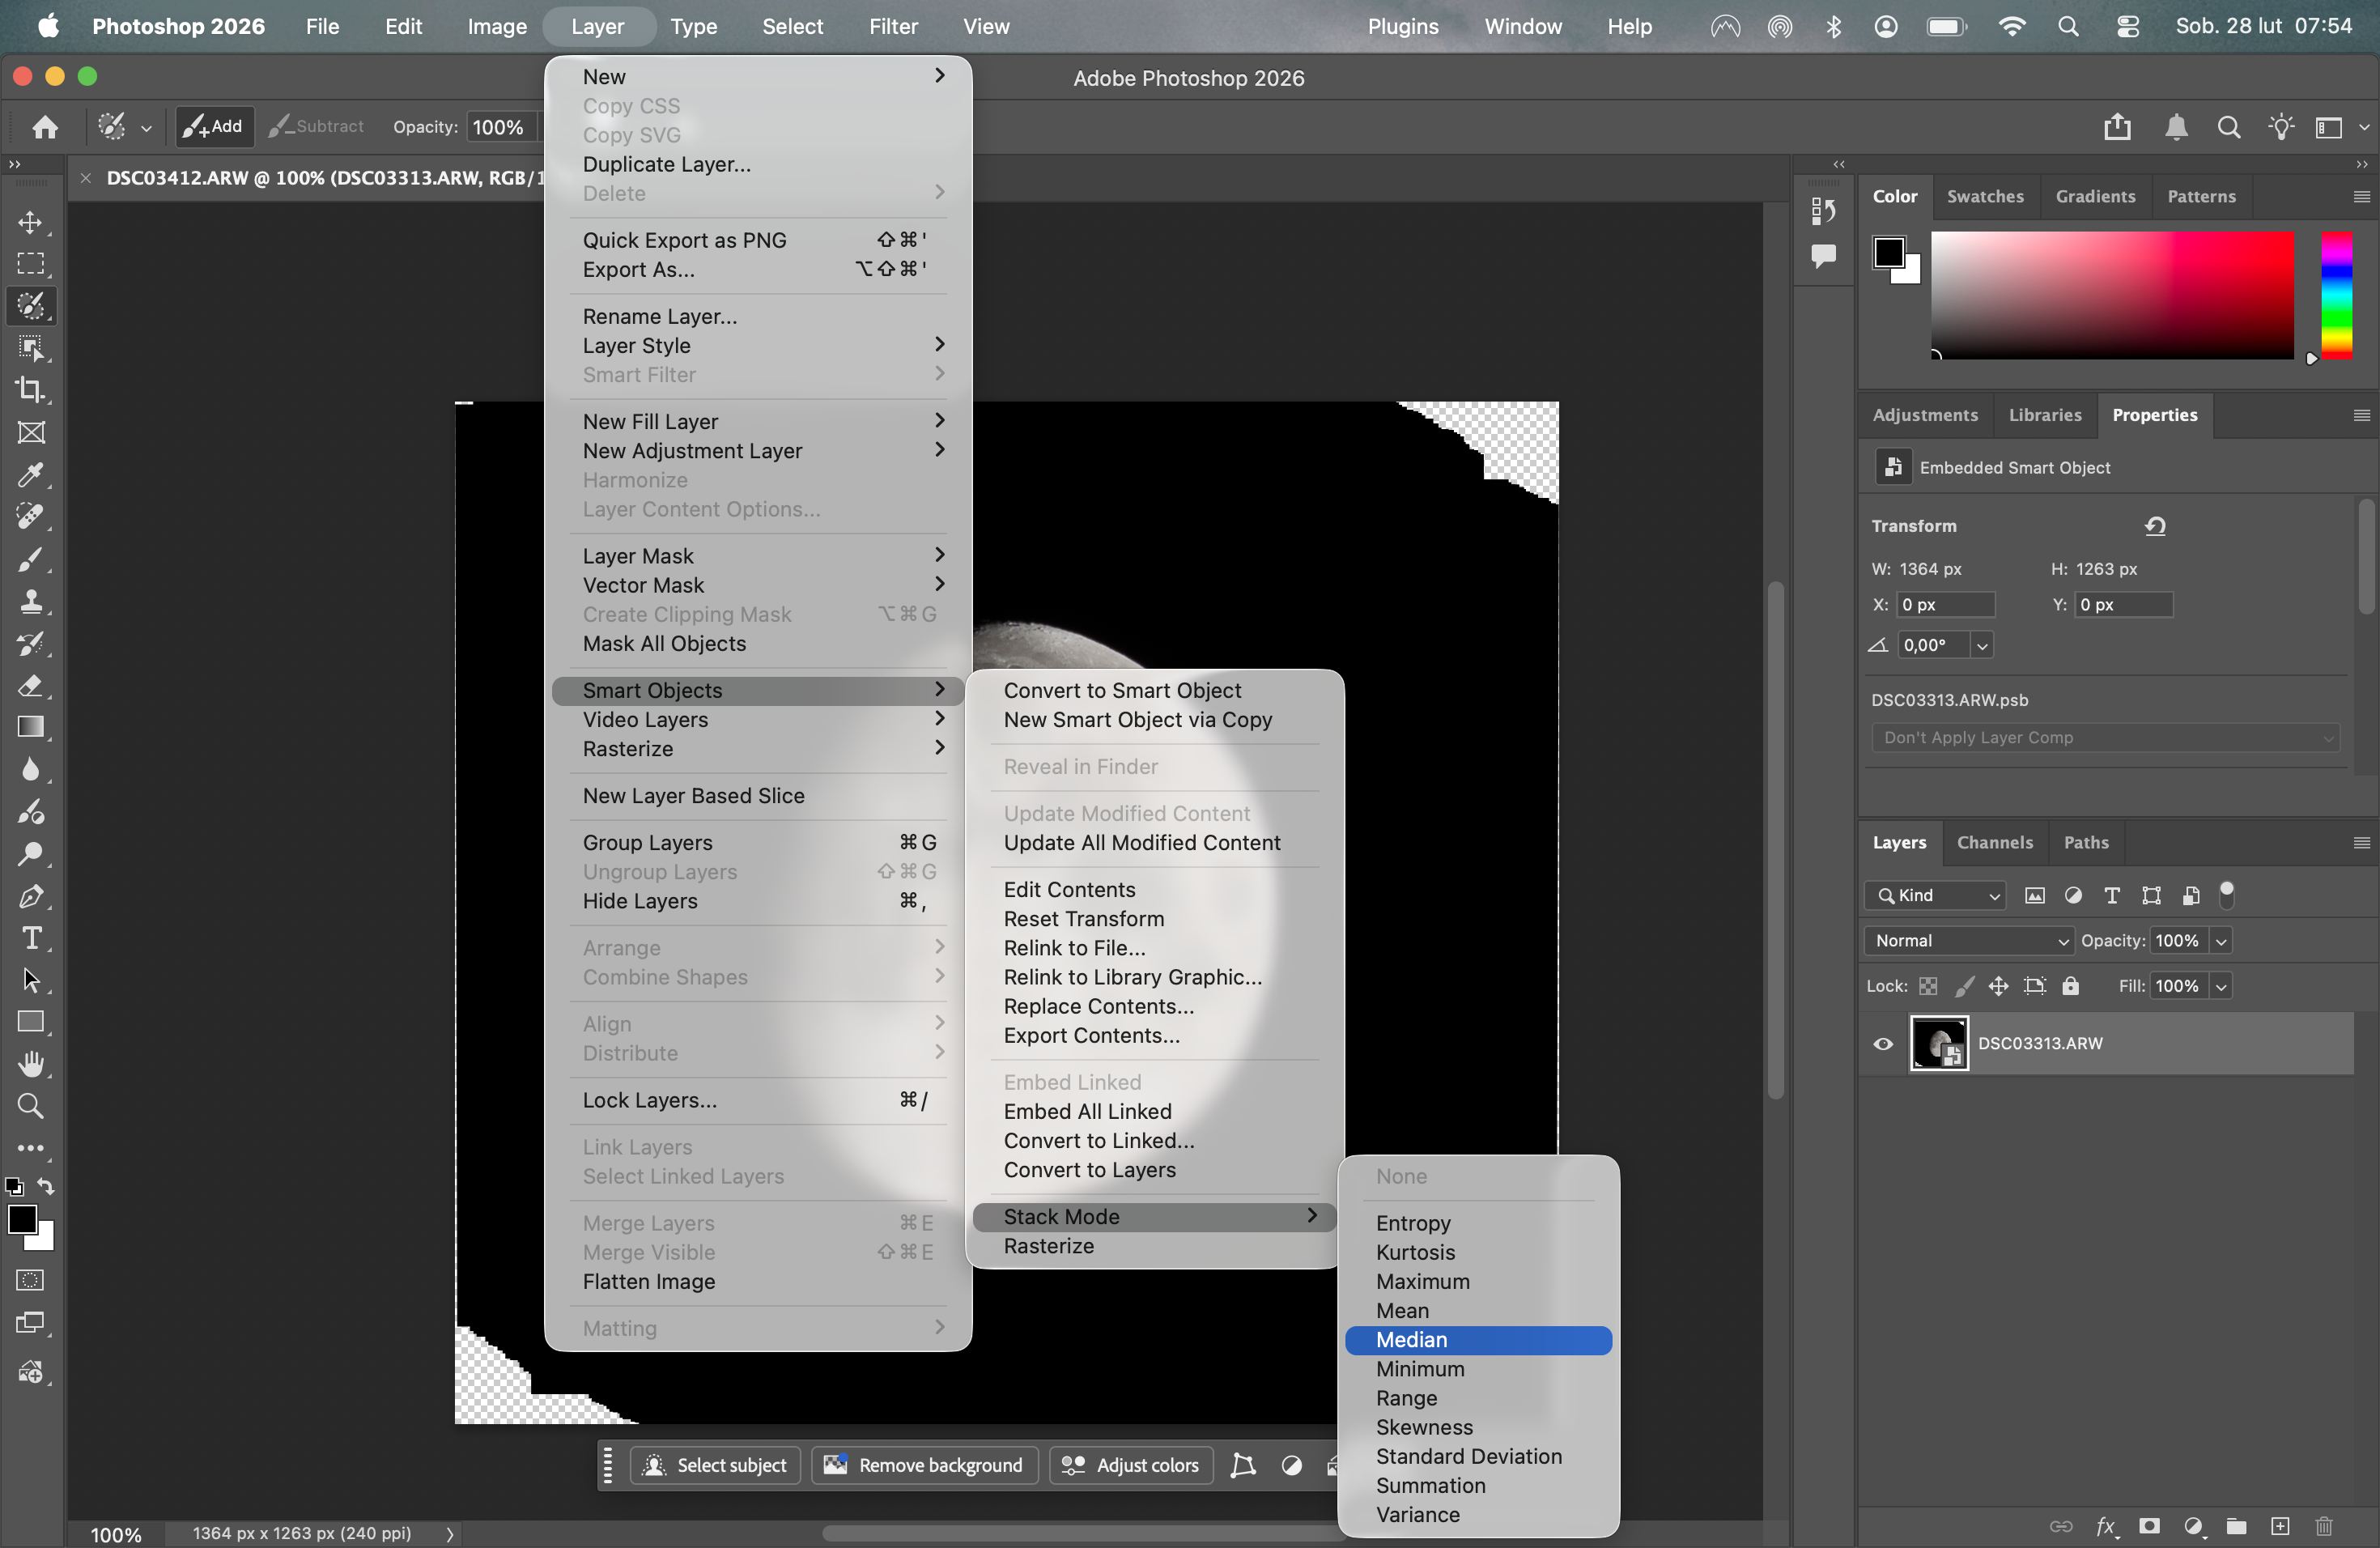
Median means Photoshop evaluates every pixel position across all frames and keeps the median value. In practice, random noise and unstable micro-artefacts are reduced, while consistent detail is preserved.
This is different from classic blend modes on normal layers (like Overlay, Screen, Multiply). Standard blend modes compare one layer to another visually. Smart Object stack modes analyze the whole image set statistically.
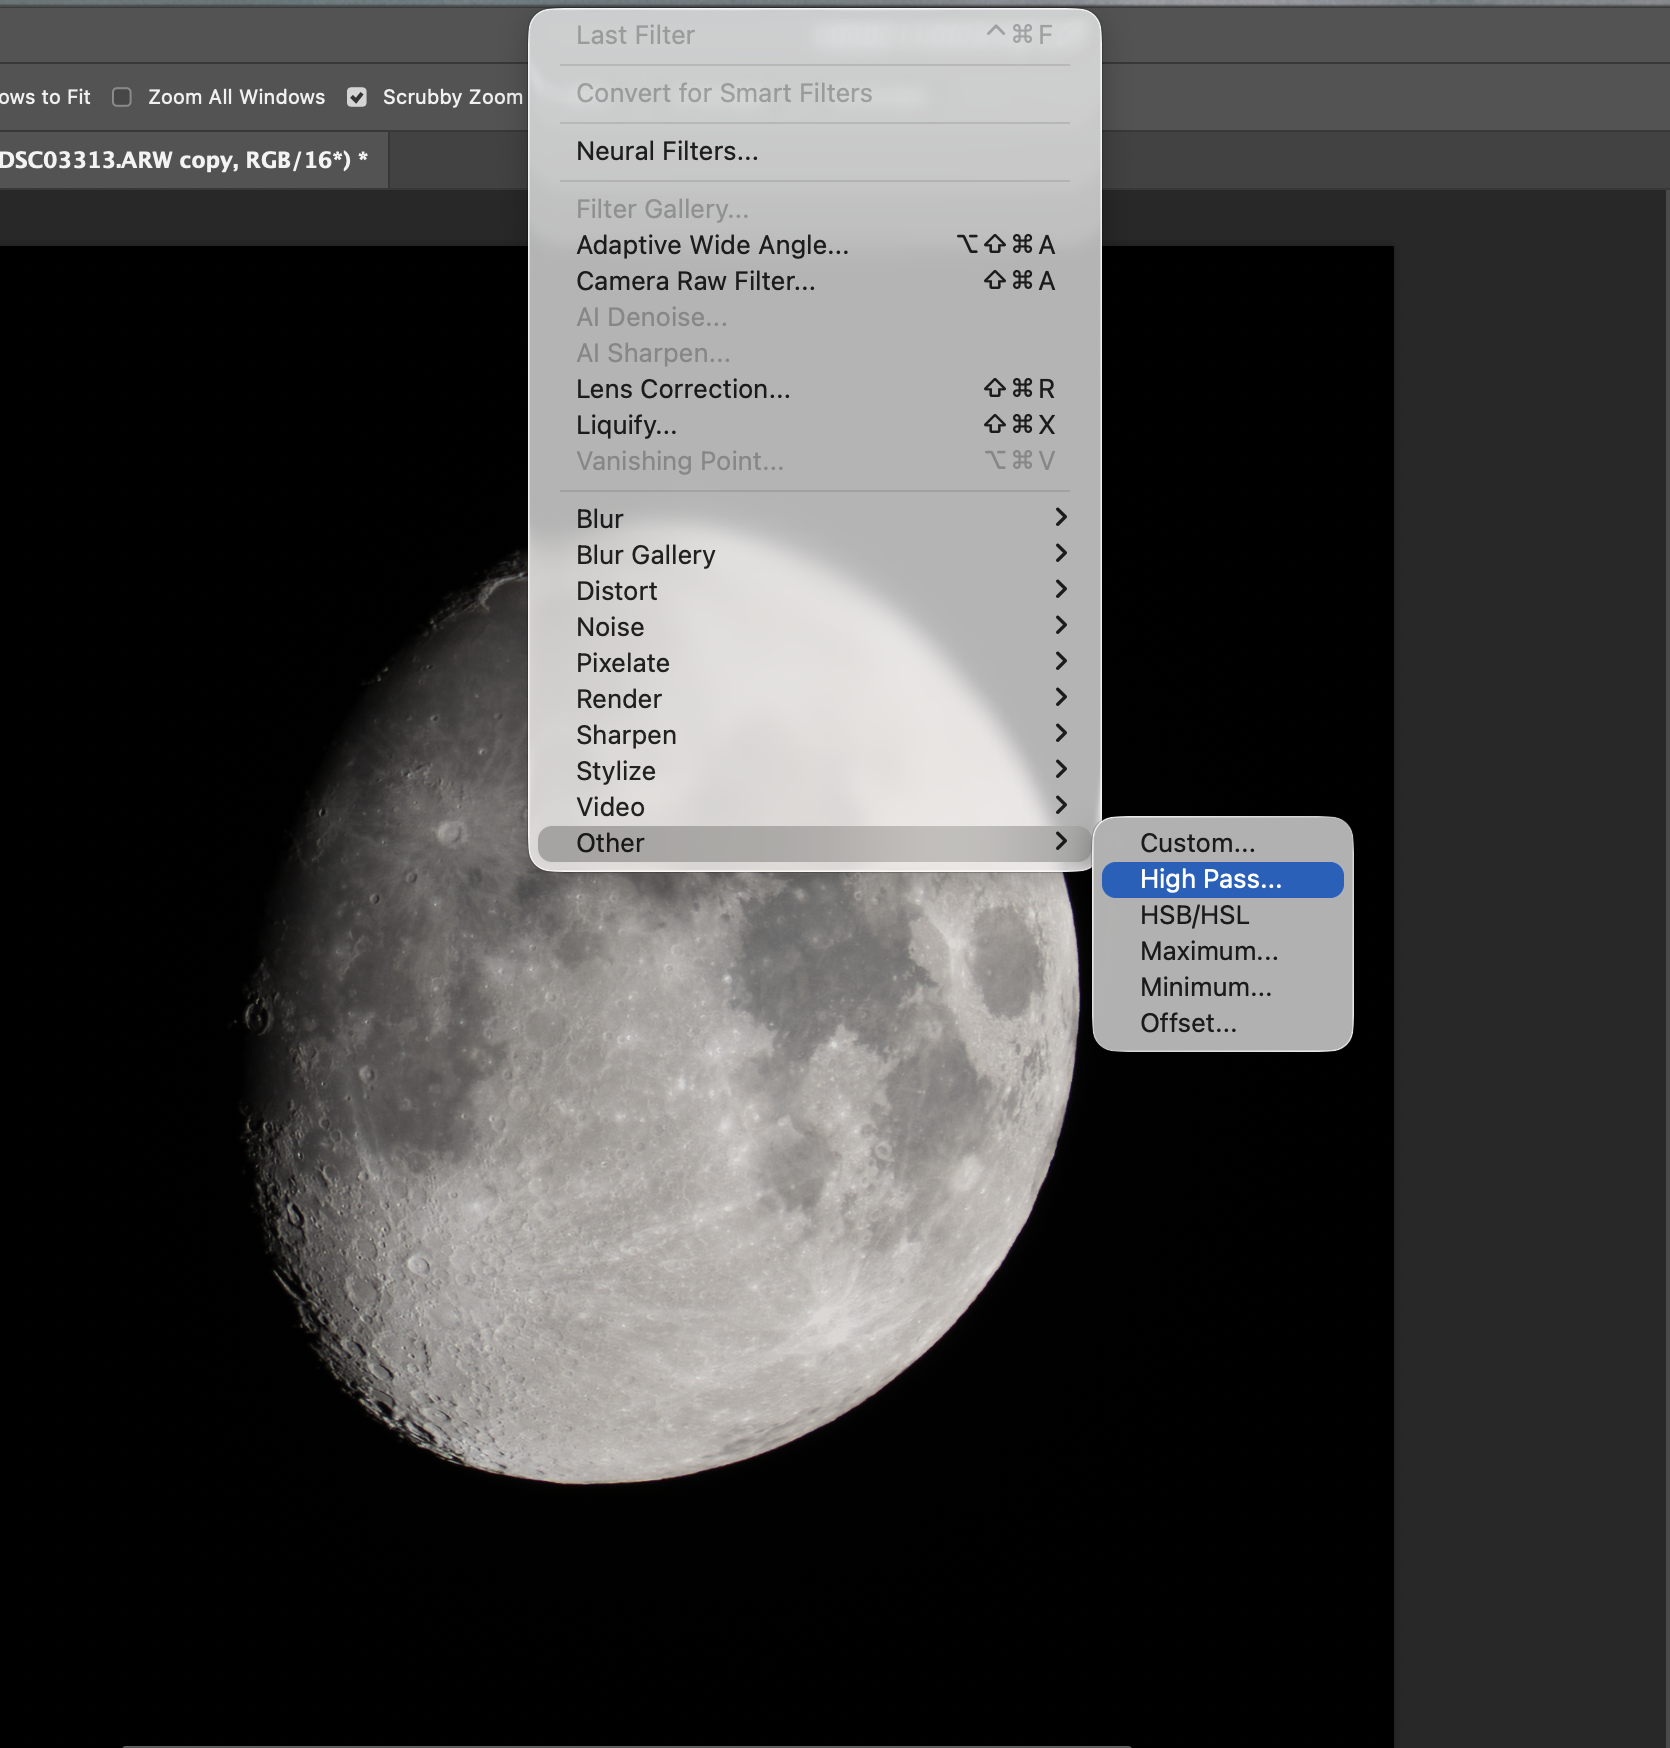
At this stage the photo is almost done. To improve micro-contrast in lunar details, I add High Pass sharpening.
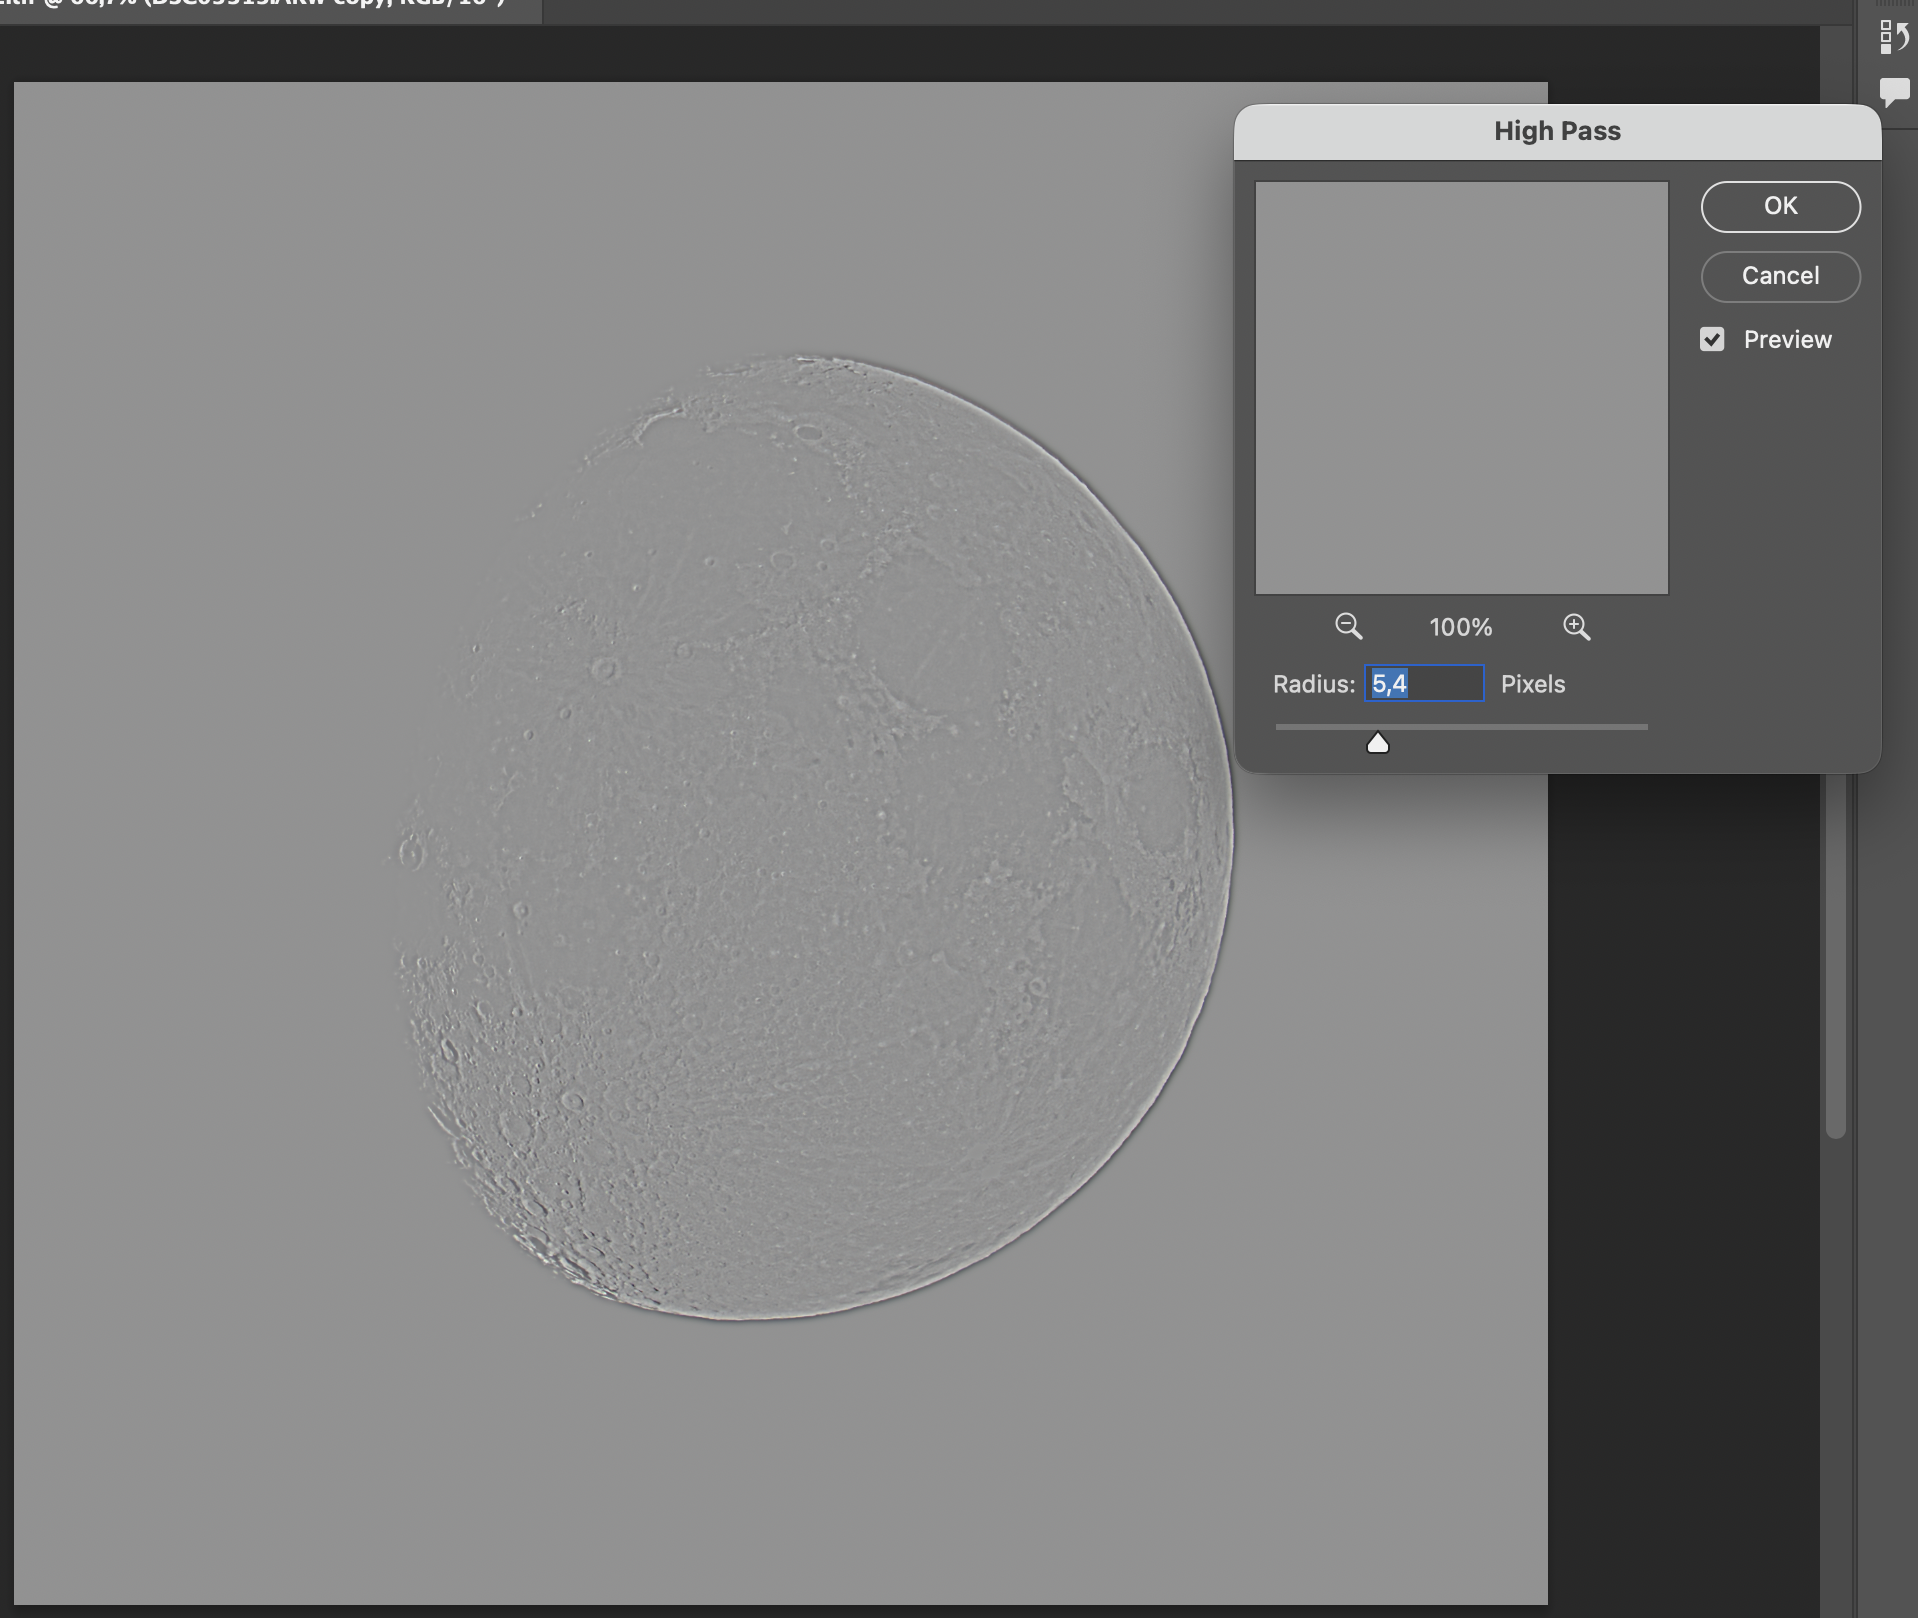
Then I set the High Pass layer blend mode to Overlay and fine-tune opacity by eye.
After that, I save to TIFF and return to Lightroom for final tonal edits and export.

FAQ - Moon stacking for beginners
How many frames are needed for good Moon stacking?
A practical start is 50-100 frames. In very stable air, even 30-50 can work, and in weaker conditions 100-200 often gives cleaner results.
Is it better to stack photos or video for the Moon?
For beginners, photo bursts in RAW are simpler and easier to control. Video based lucky imaging can give more detail, but usually needs a more advanced workflow and tools.
What camera settings are best (ISO, shutter, aperture)?
Start around ISO 100-200, shutter 1/80 to 1/250 s, and aperture about f/5.6-f/8. Adjust shutter first to protect highlights on bright lunar areas.
Should IBIS/OSS stabilization be turned off on a tripod?
Usually yes. On a tripod, stabilization can introduce micro movement. If your camera has a dedicated tripod stabilization mode, test both options and compare at 1:1.
Will the Moon move too much between frames?
It will shift in the frame even during a short burst. Leave extra space around the Moon and use alignment in post processing.
How should focus be set - autofocus or manual?
Manual focus is usually the most reliable. Use live view magnification and fine tune on crater edges and the terminator line.
Does stacking improve sharpness?
Stacking does not fix motion blur or missed focus, but it improves perceived detail by reducing random noise and stabilizing fine texture.
How much does stacking help at 300-400 mm?
The gain is usually clearly visible: cleaner surface texture, less noise, and more readable crater detail. It will not replace telescope scale, but quality improves noticeably.
Which software should I use for Moon stacking?
A simple path is Photoshop: Auto-Align Layers plus Smart Object Stack Mode Median. Popular alternatives are AutoStakkert, RegiStax, and AstroSurface.
How to select the best frames for stacking?
Reject blurred and shaky frames first. Keep the shots with the sharpest crater edges and strongest local contrast, then stack that best subset.

